Posted by Bailey Rivera on 26th Mar 2024
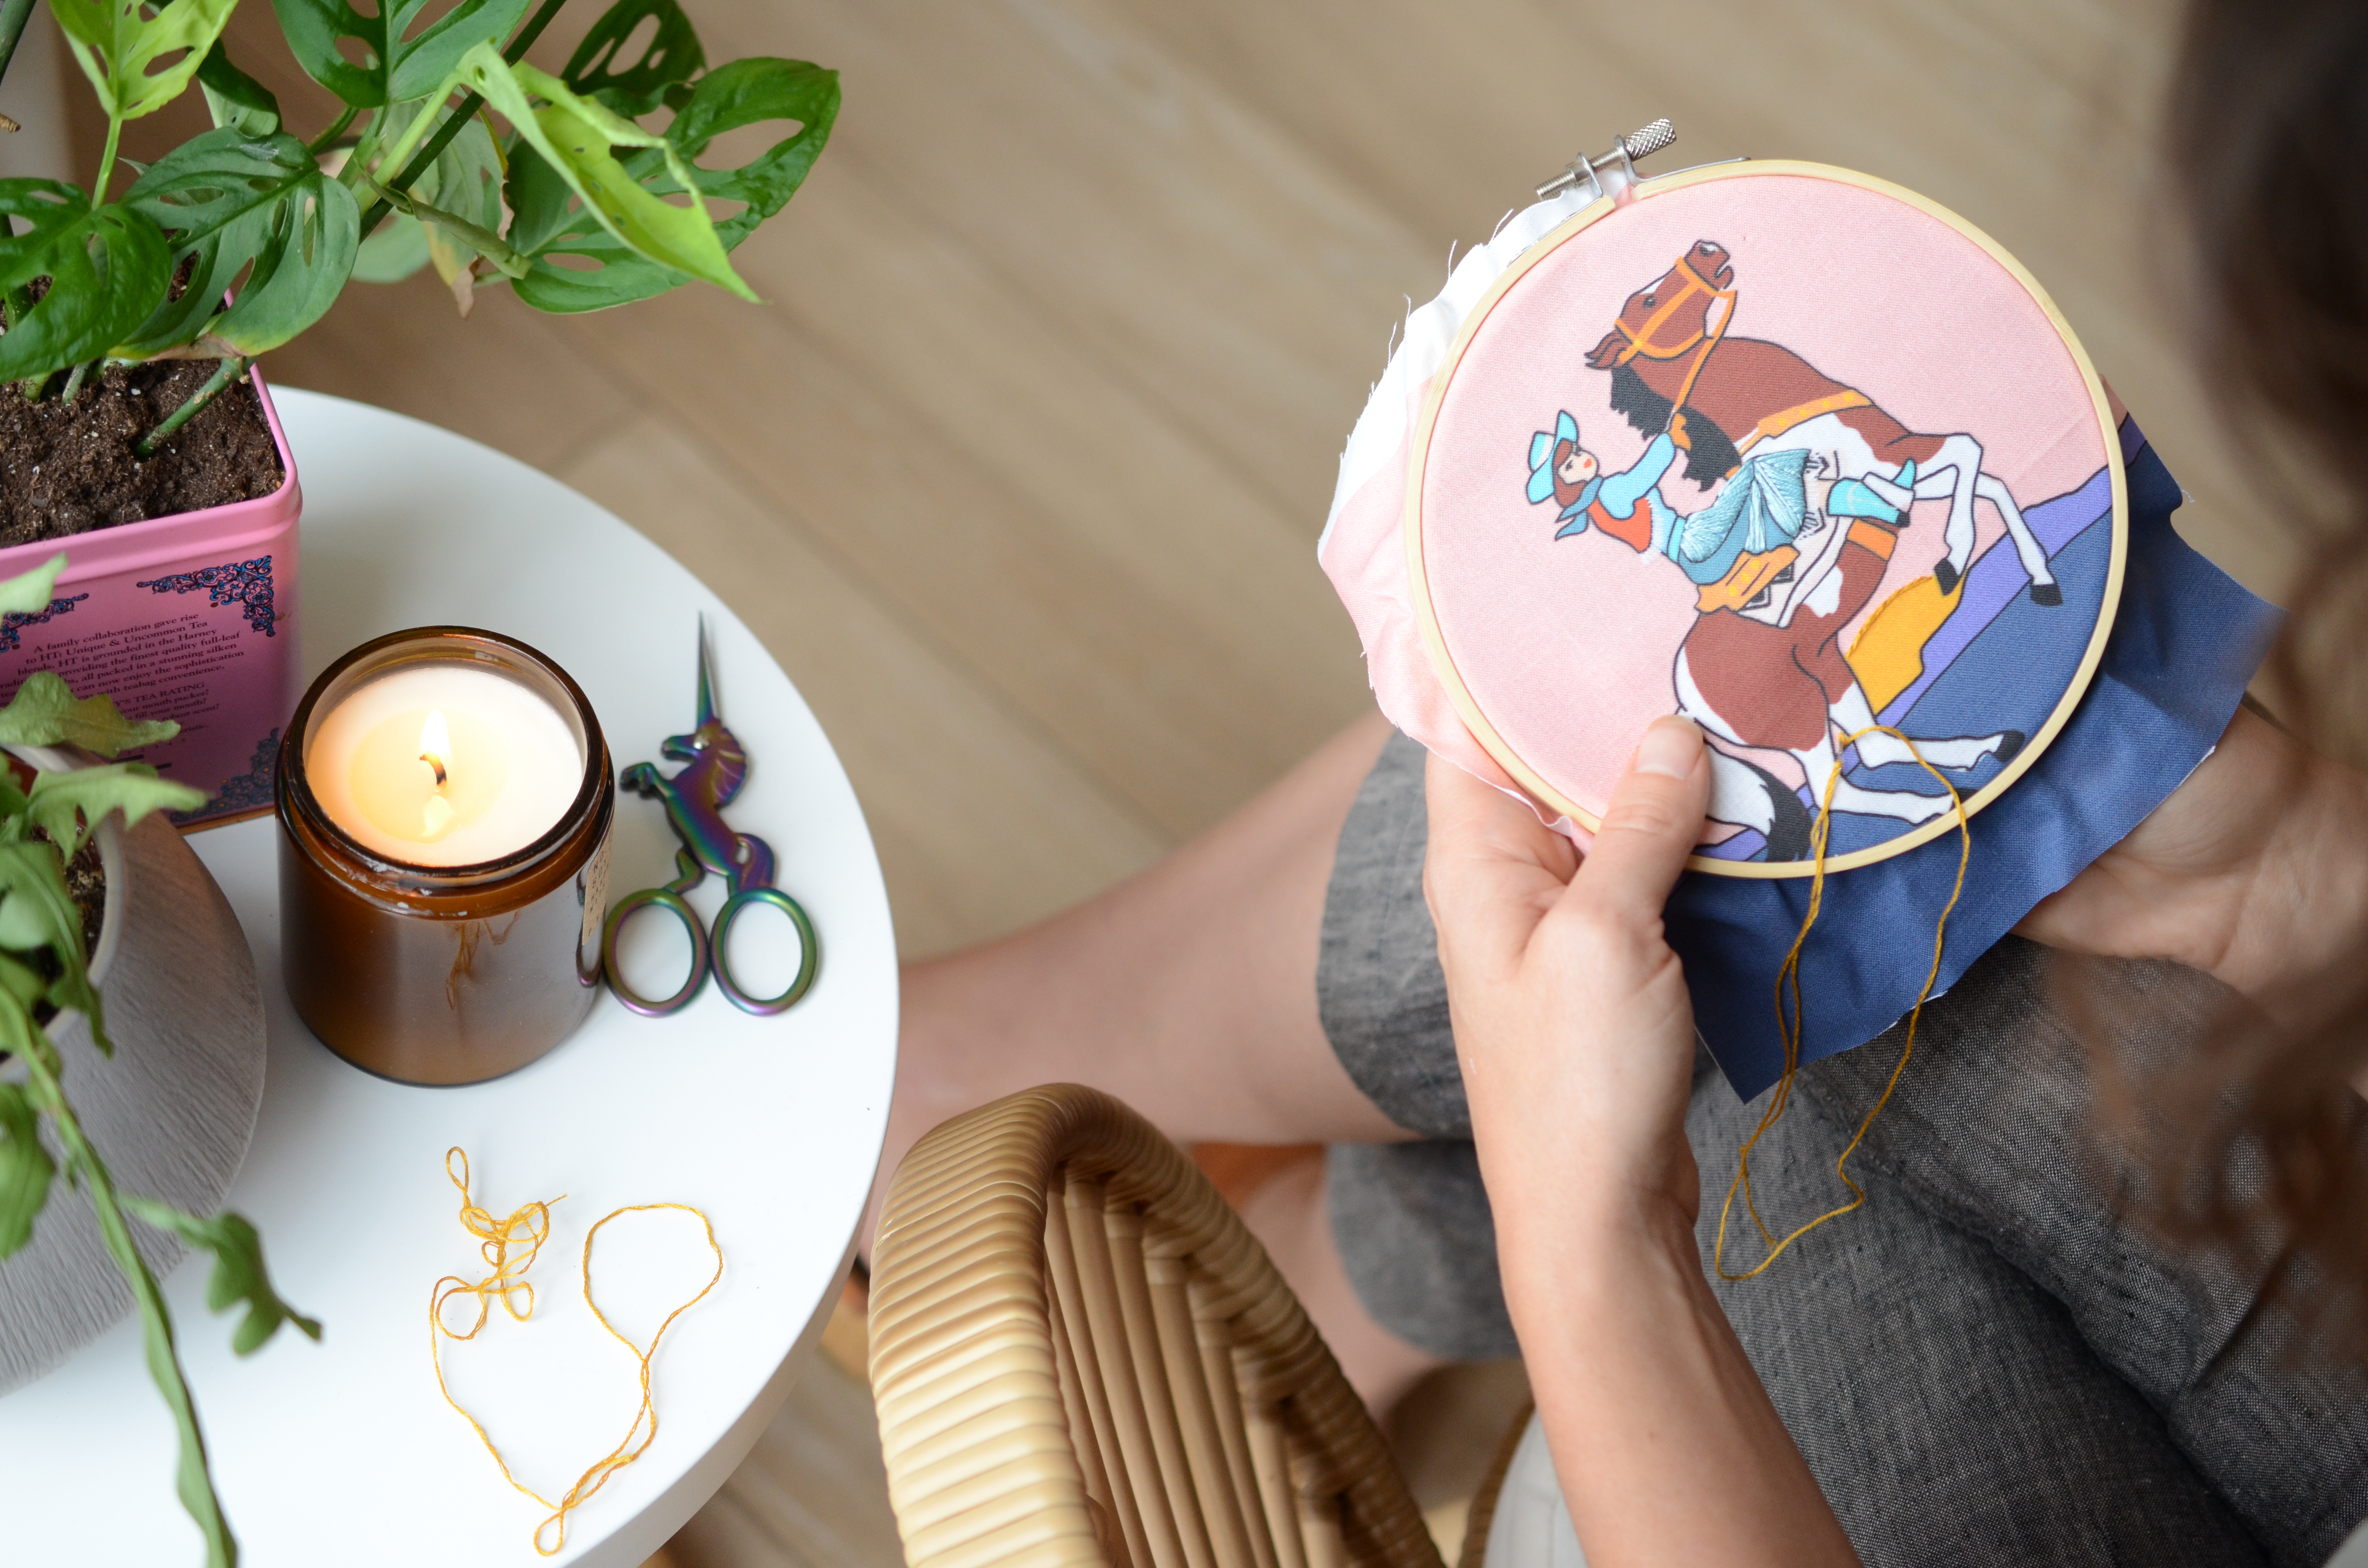
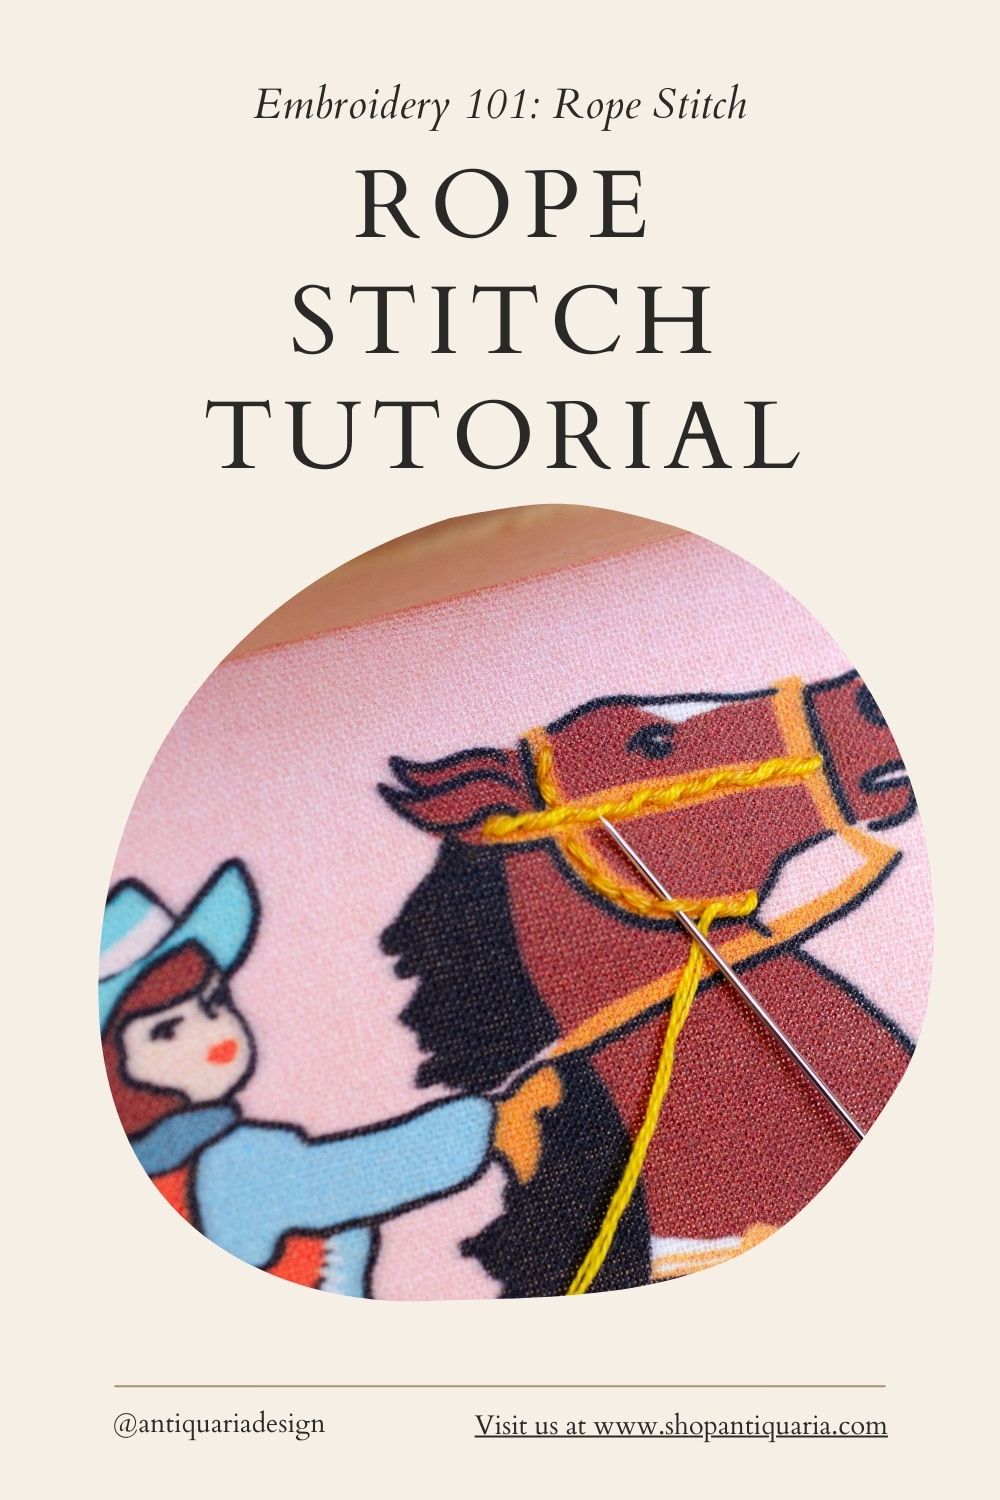
Mastering the Rope Stitch: A Step-by-Step Guide with our Western Cowgirl Embroidery
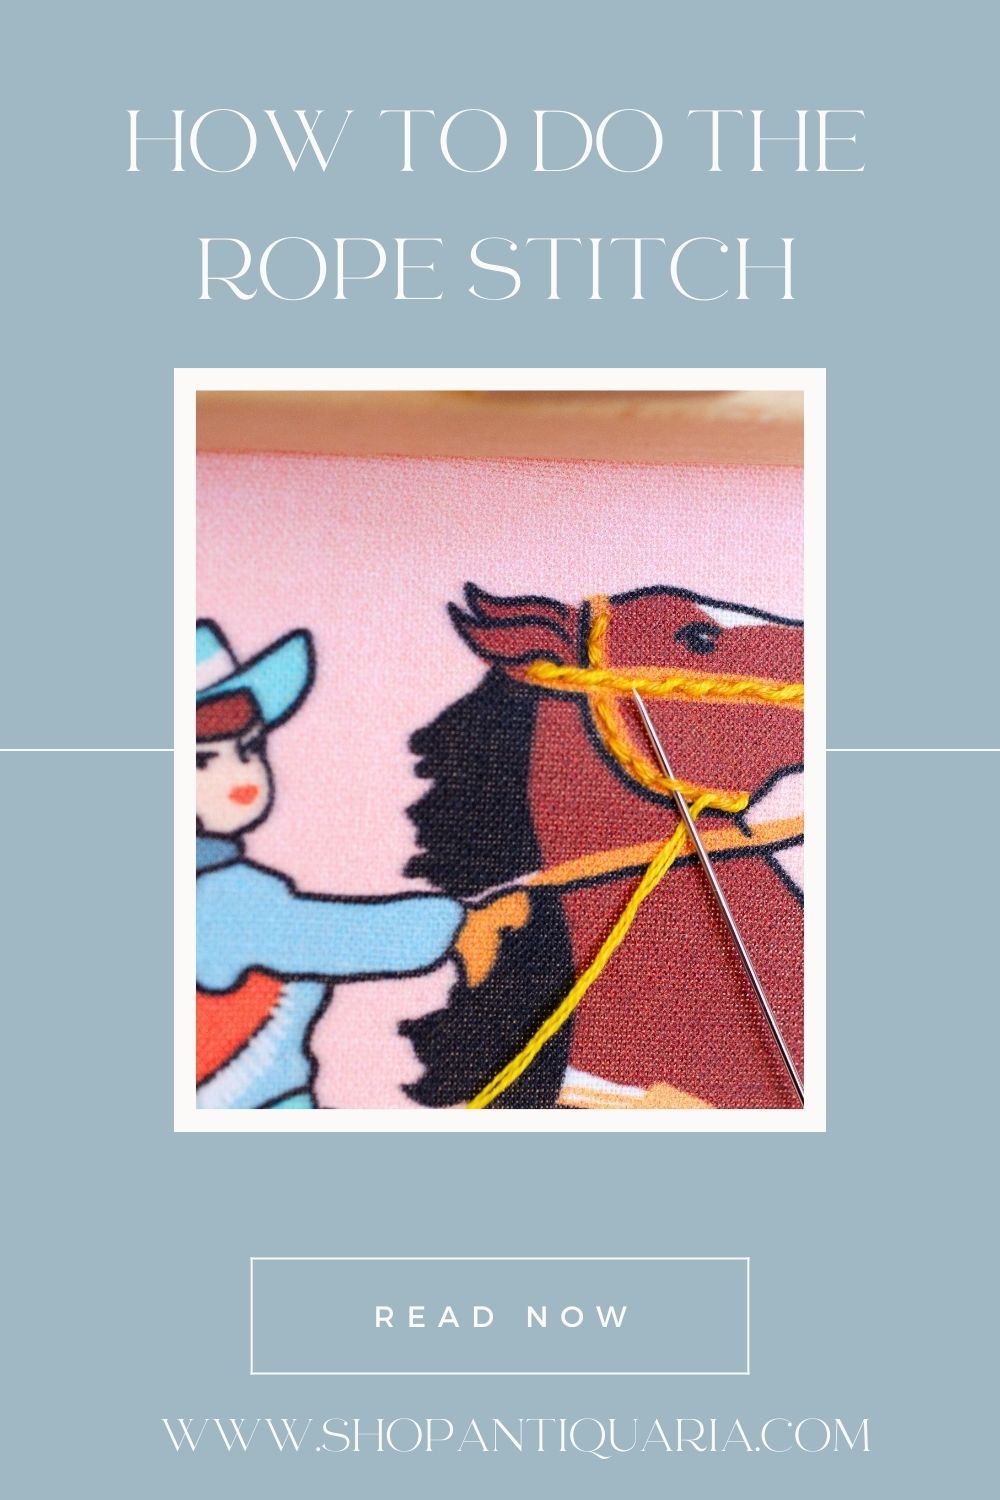
In this short hand stitching embroidery tutorial, we will go over one of our new stitches found in the Cowgirl Embroidery kit! This stitch is so easy but looks advanced thanks to its 2 step construction. Let's dive in!
Step One:
Bring your needle up through the fabric where you would like to start your rope stitch. You will be completing a back stitch as the first part of the rope stitch.
Step Two:
Bring your needle through the fabric, front to back, at about the distance of a grain of rice.
Step Three:
Come back up through the fabric, back to front, leaving the same distance as your first stitch.
Step Four:
Put your needle in the same hole as the end of your first stitch, completing the second stitch of your back stitch. Continue in this pattern, repeating steps 3 and 4, until you have backstitched everywhere that calls for the rope stitch.
Step 5:
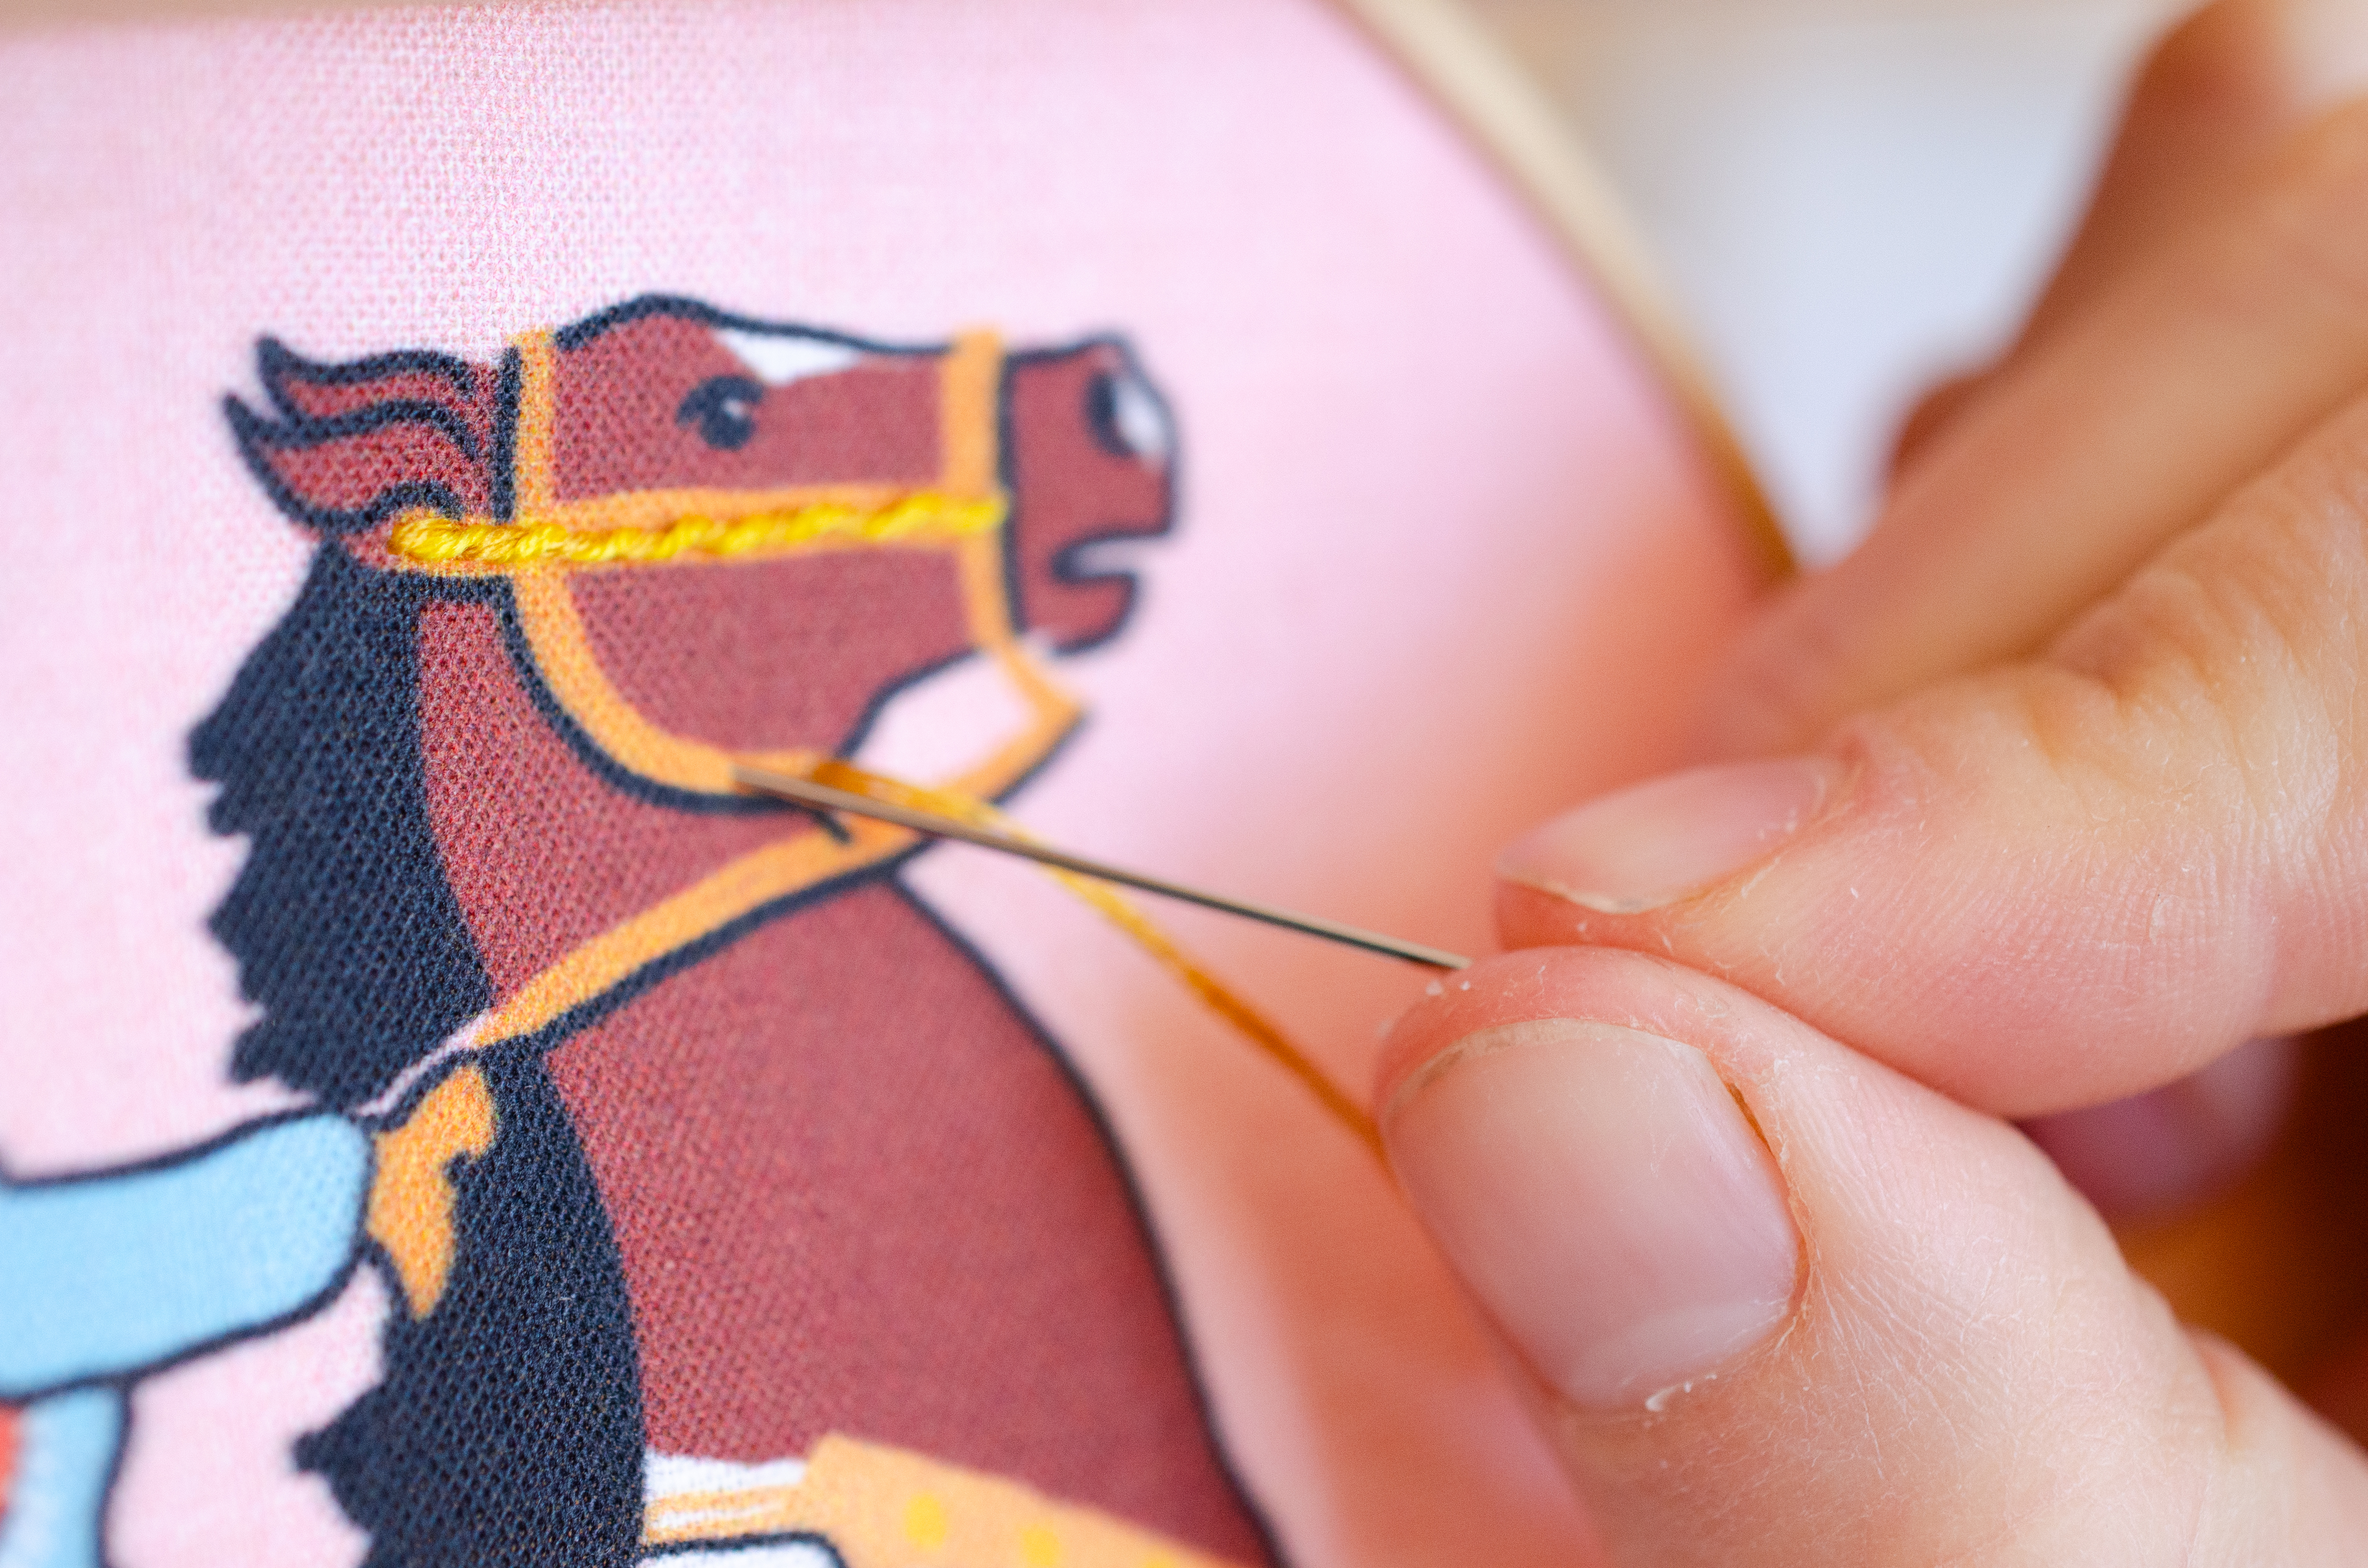
This begins part 2 of the Rope Stitch. Using a second color, bring your needle up through the fabric where you started your back stitch in Part 1.
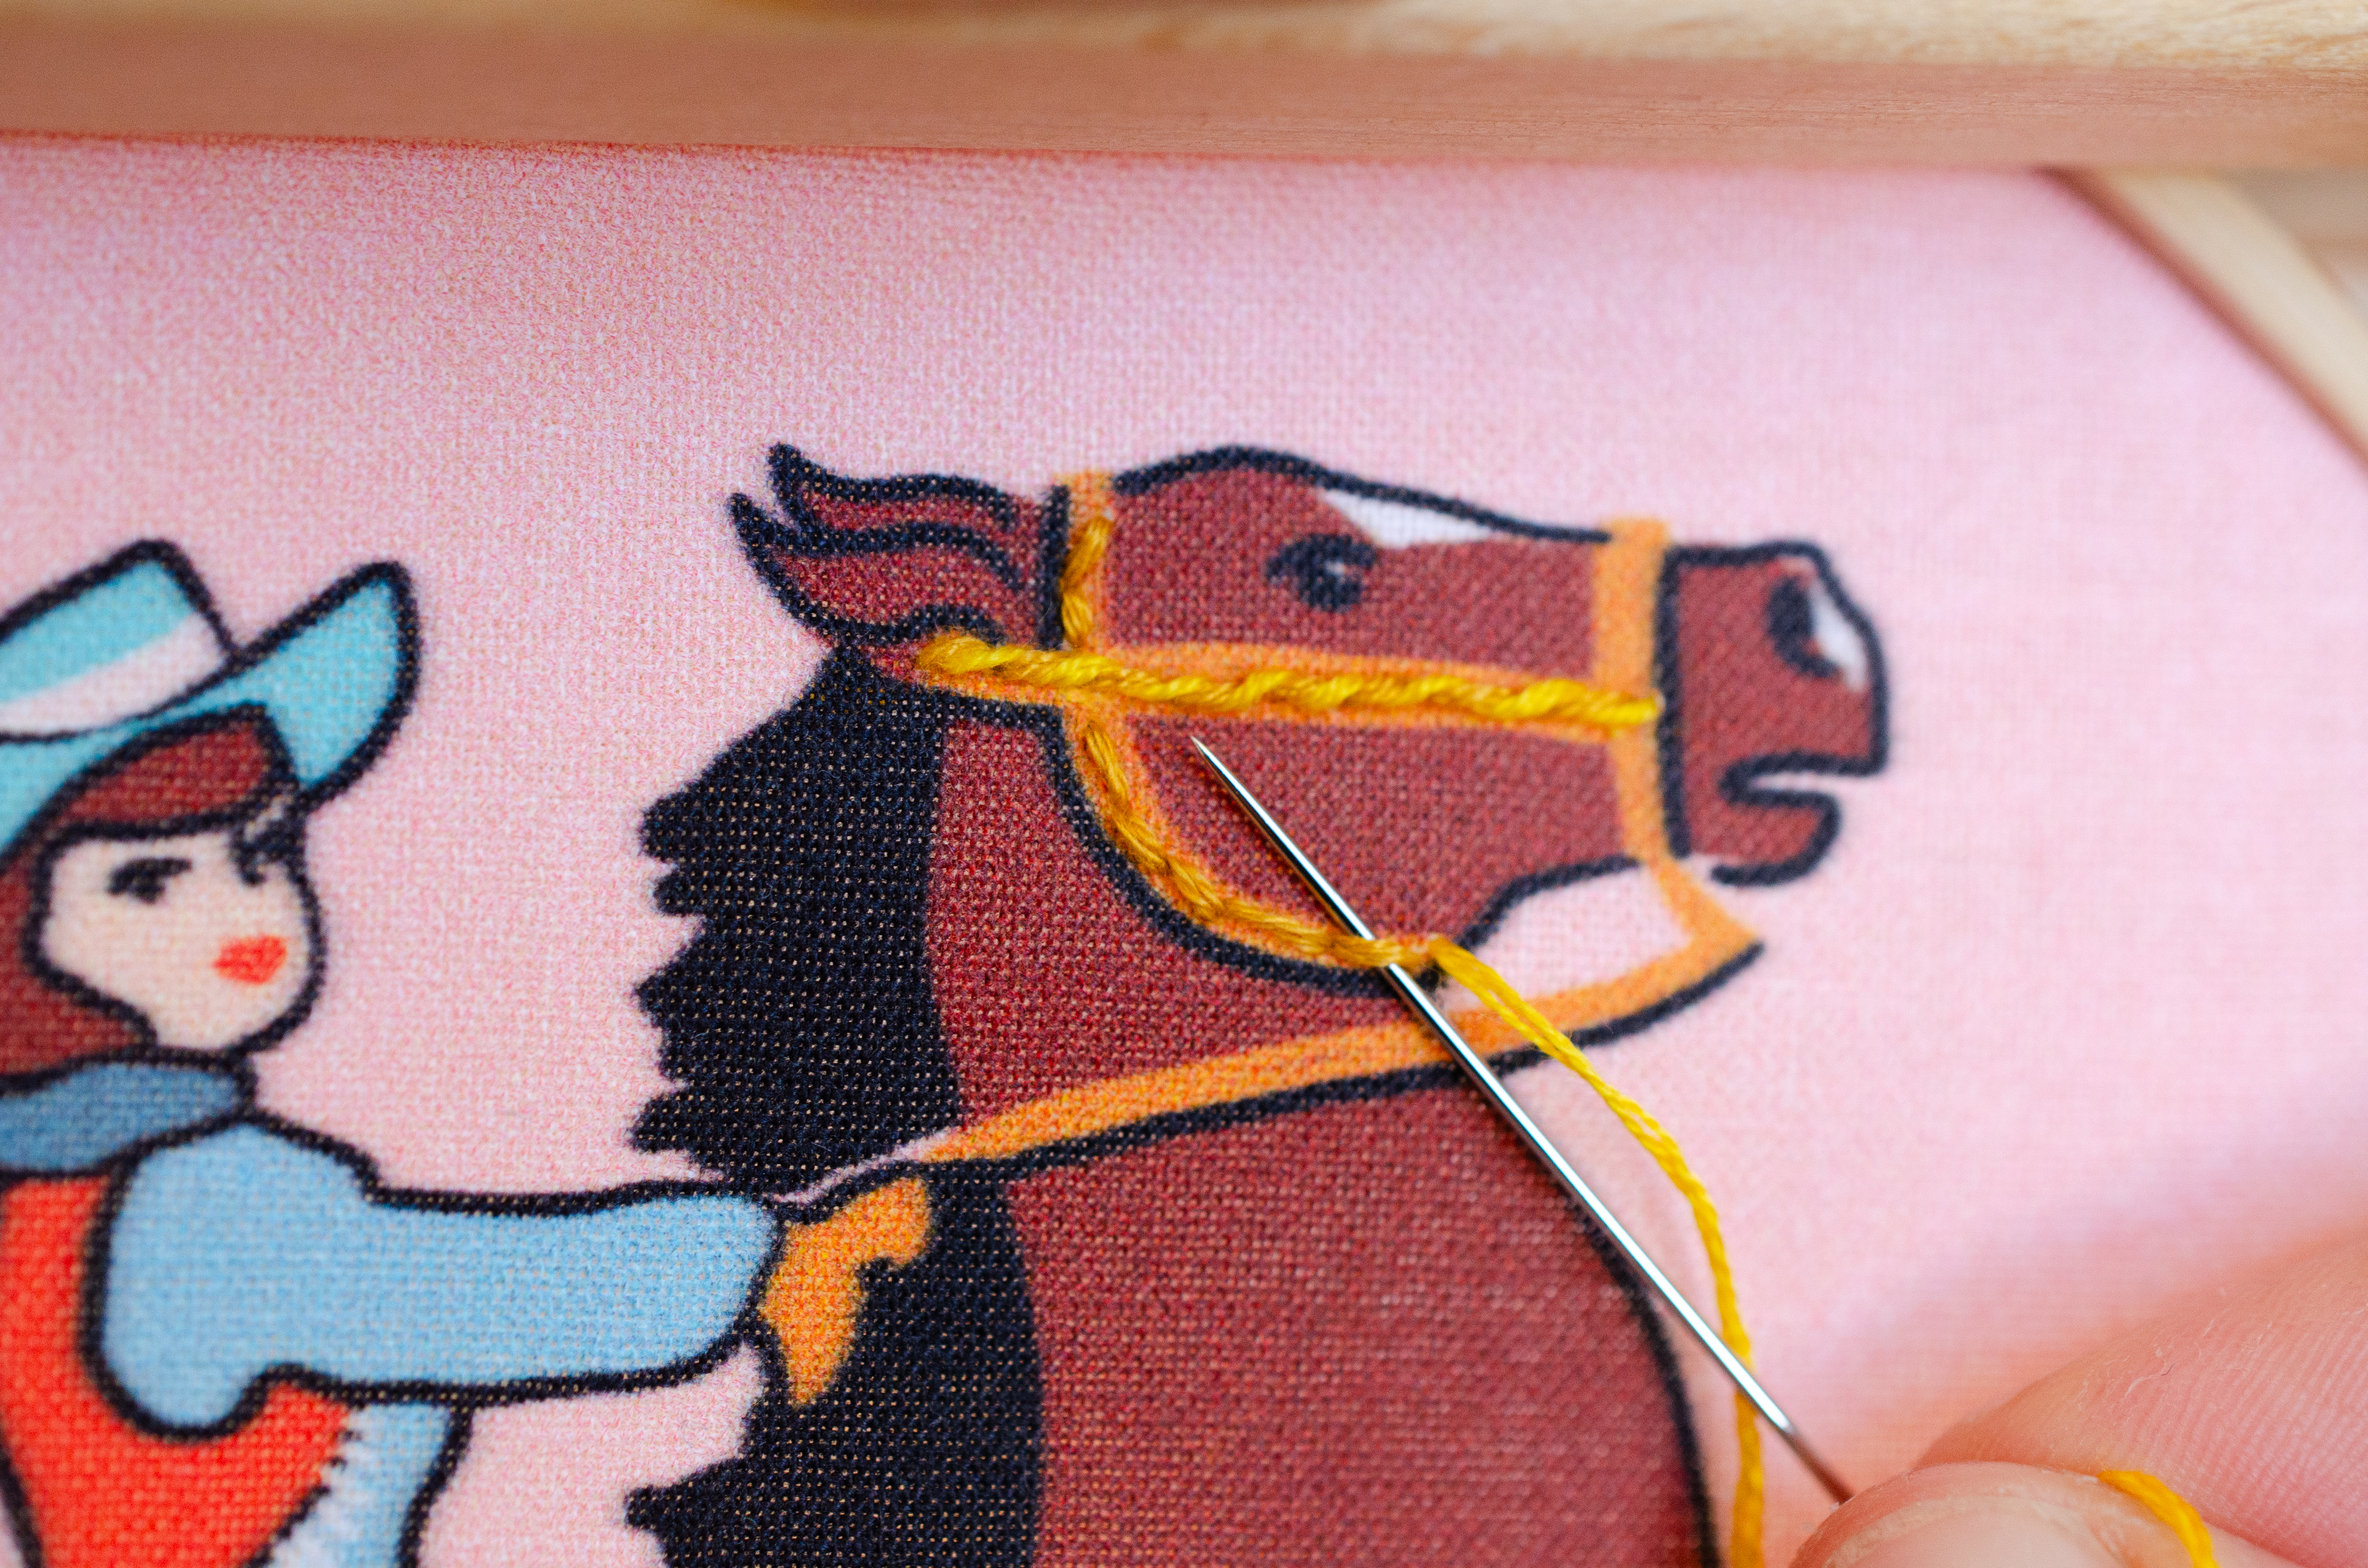
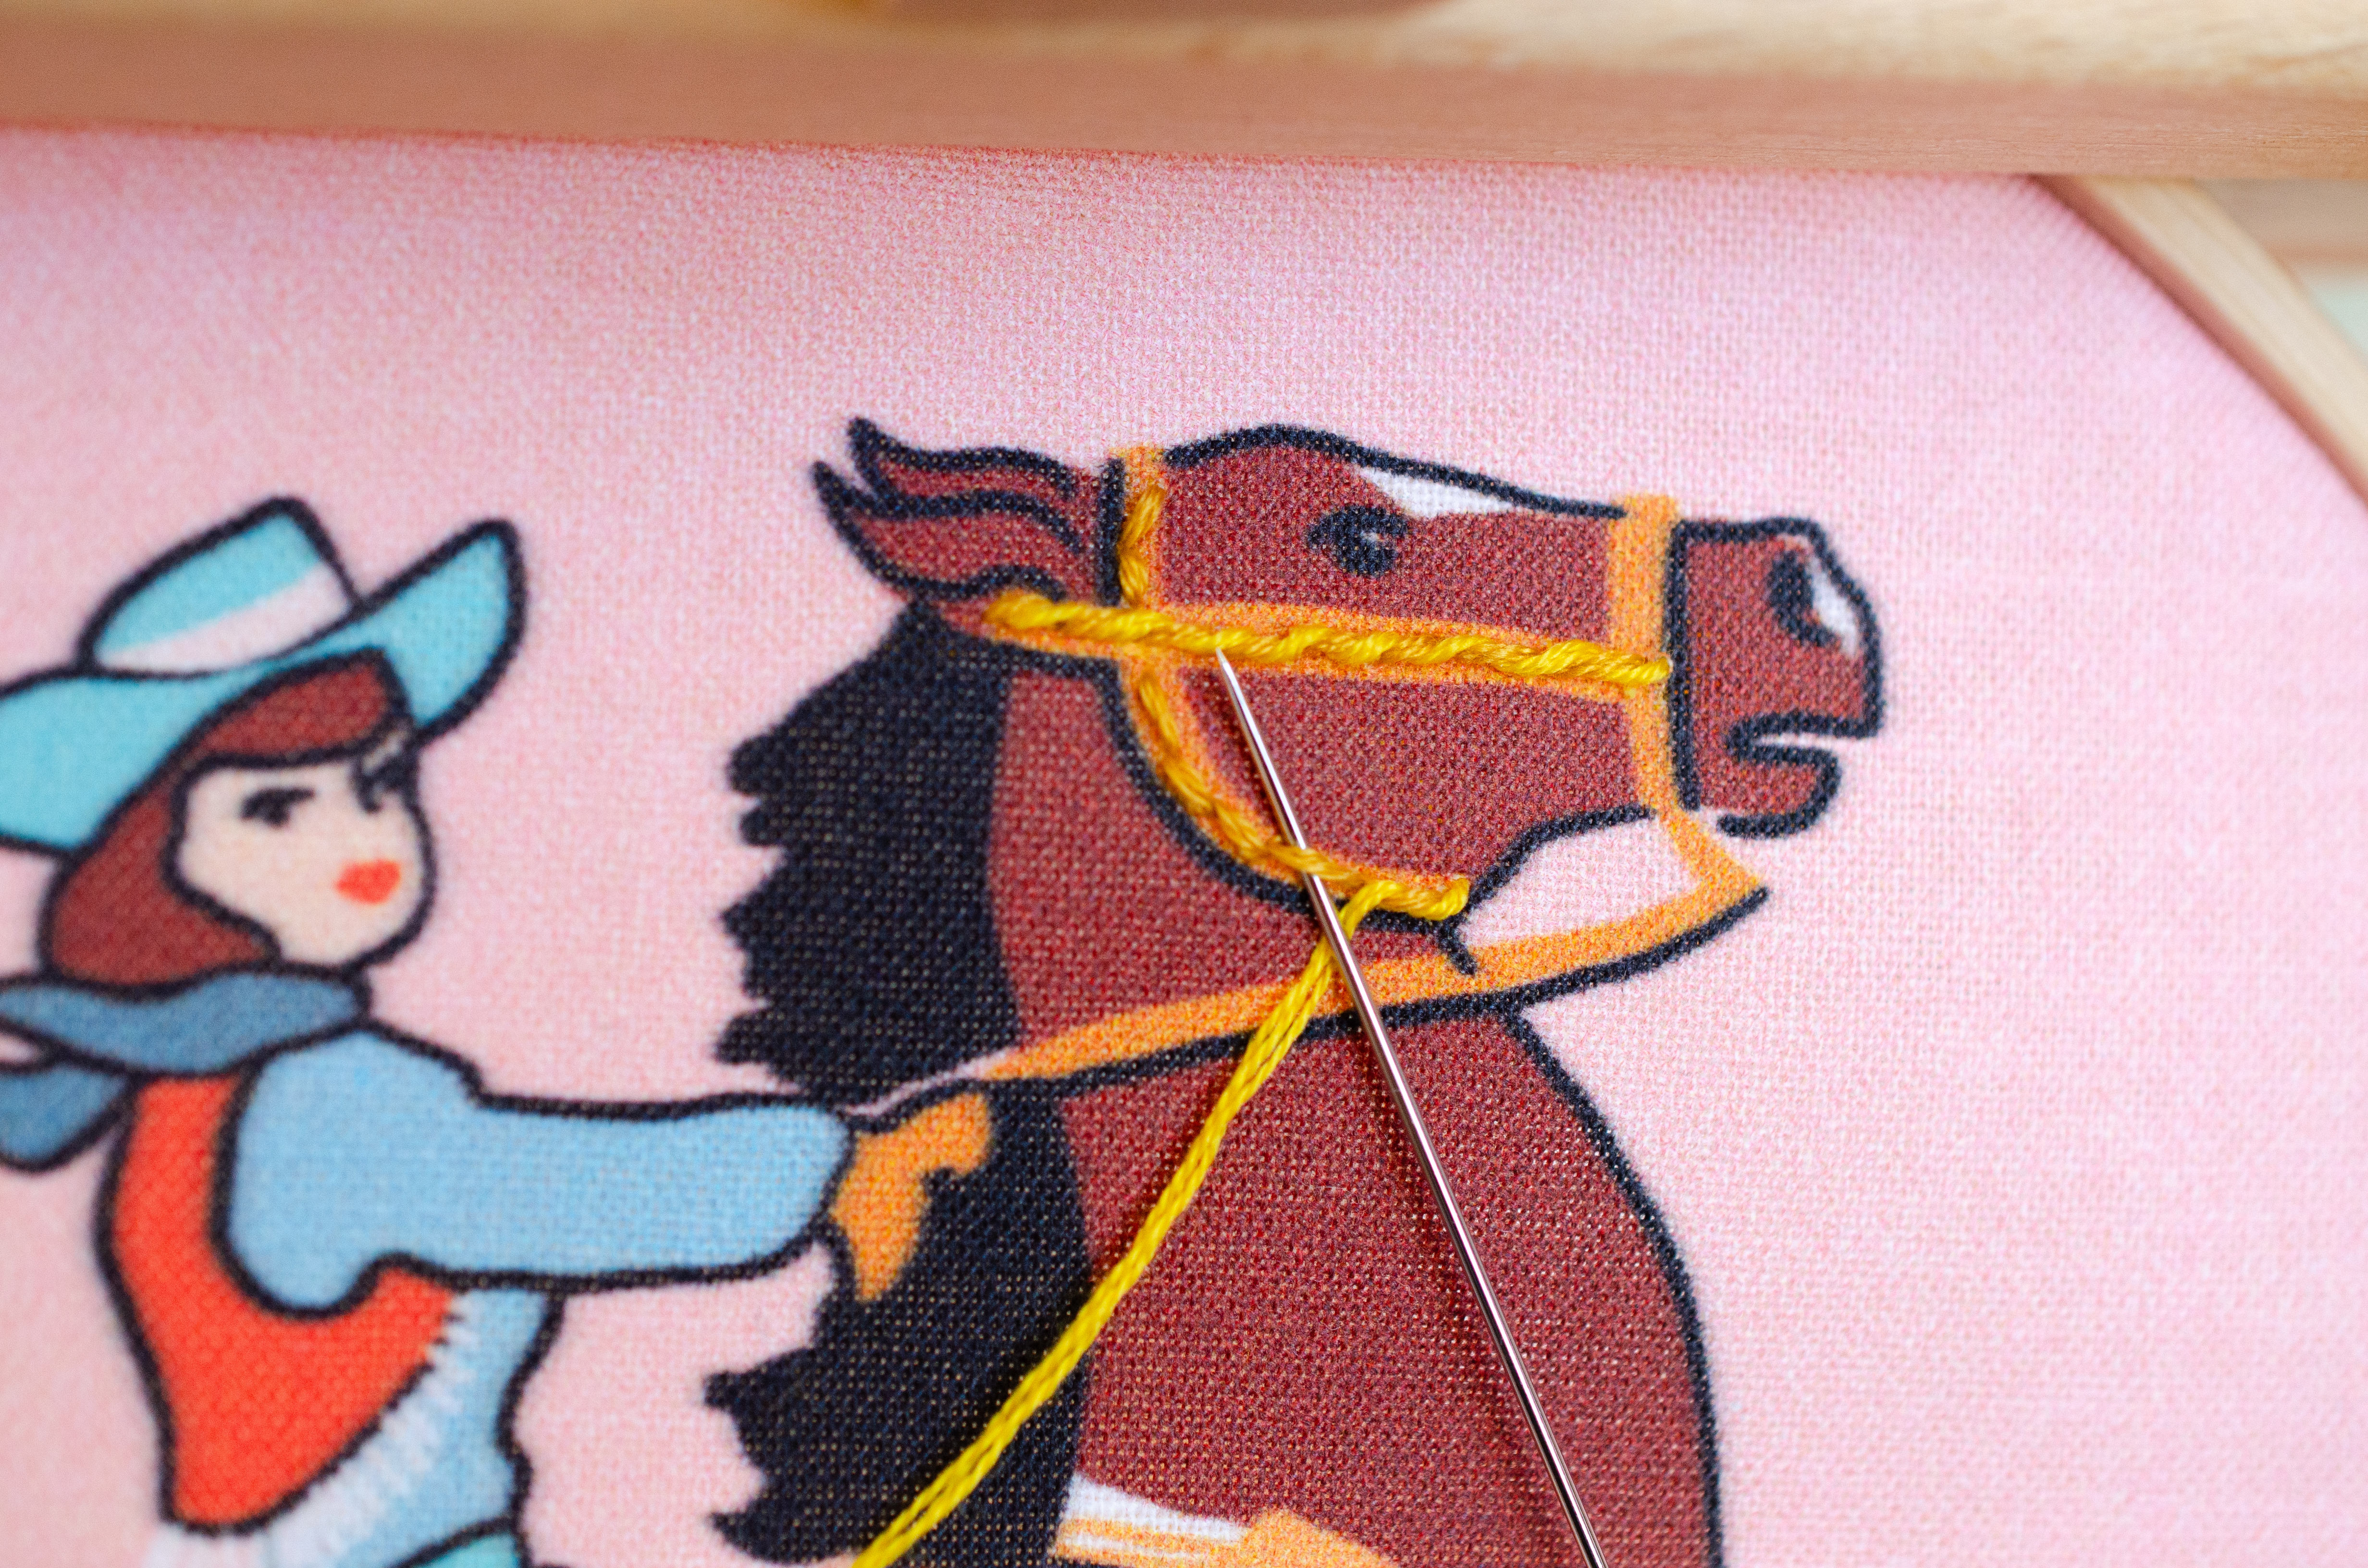
Step 6:
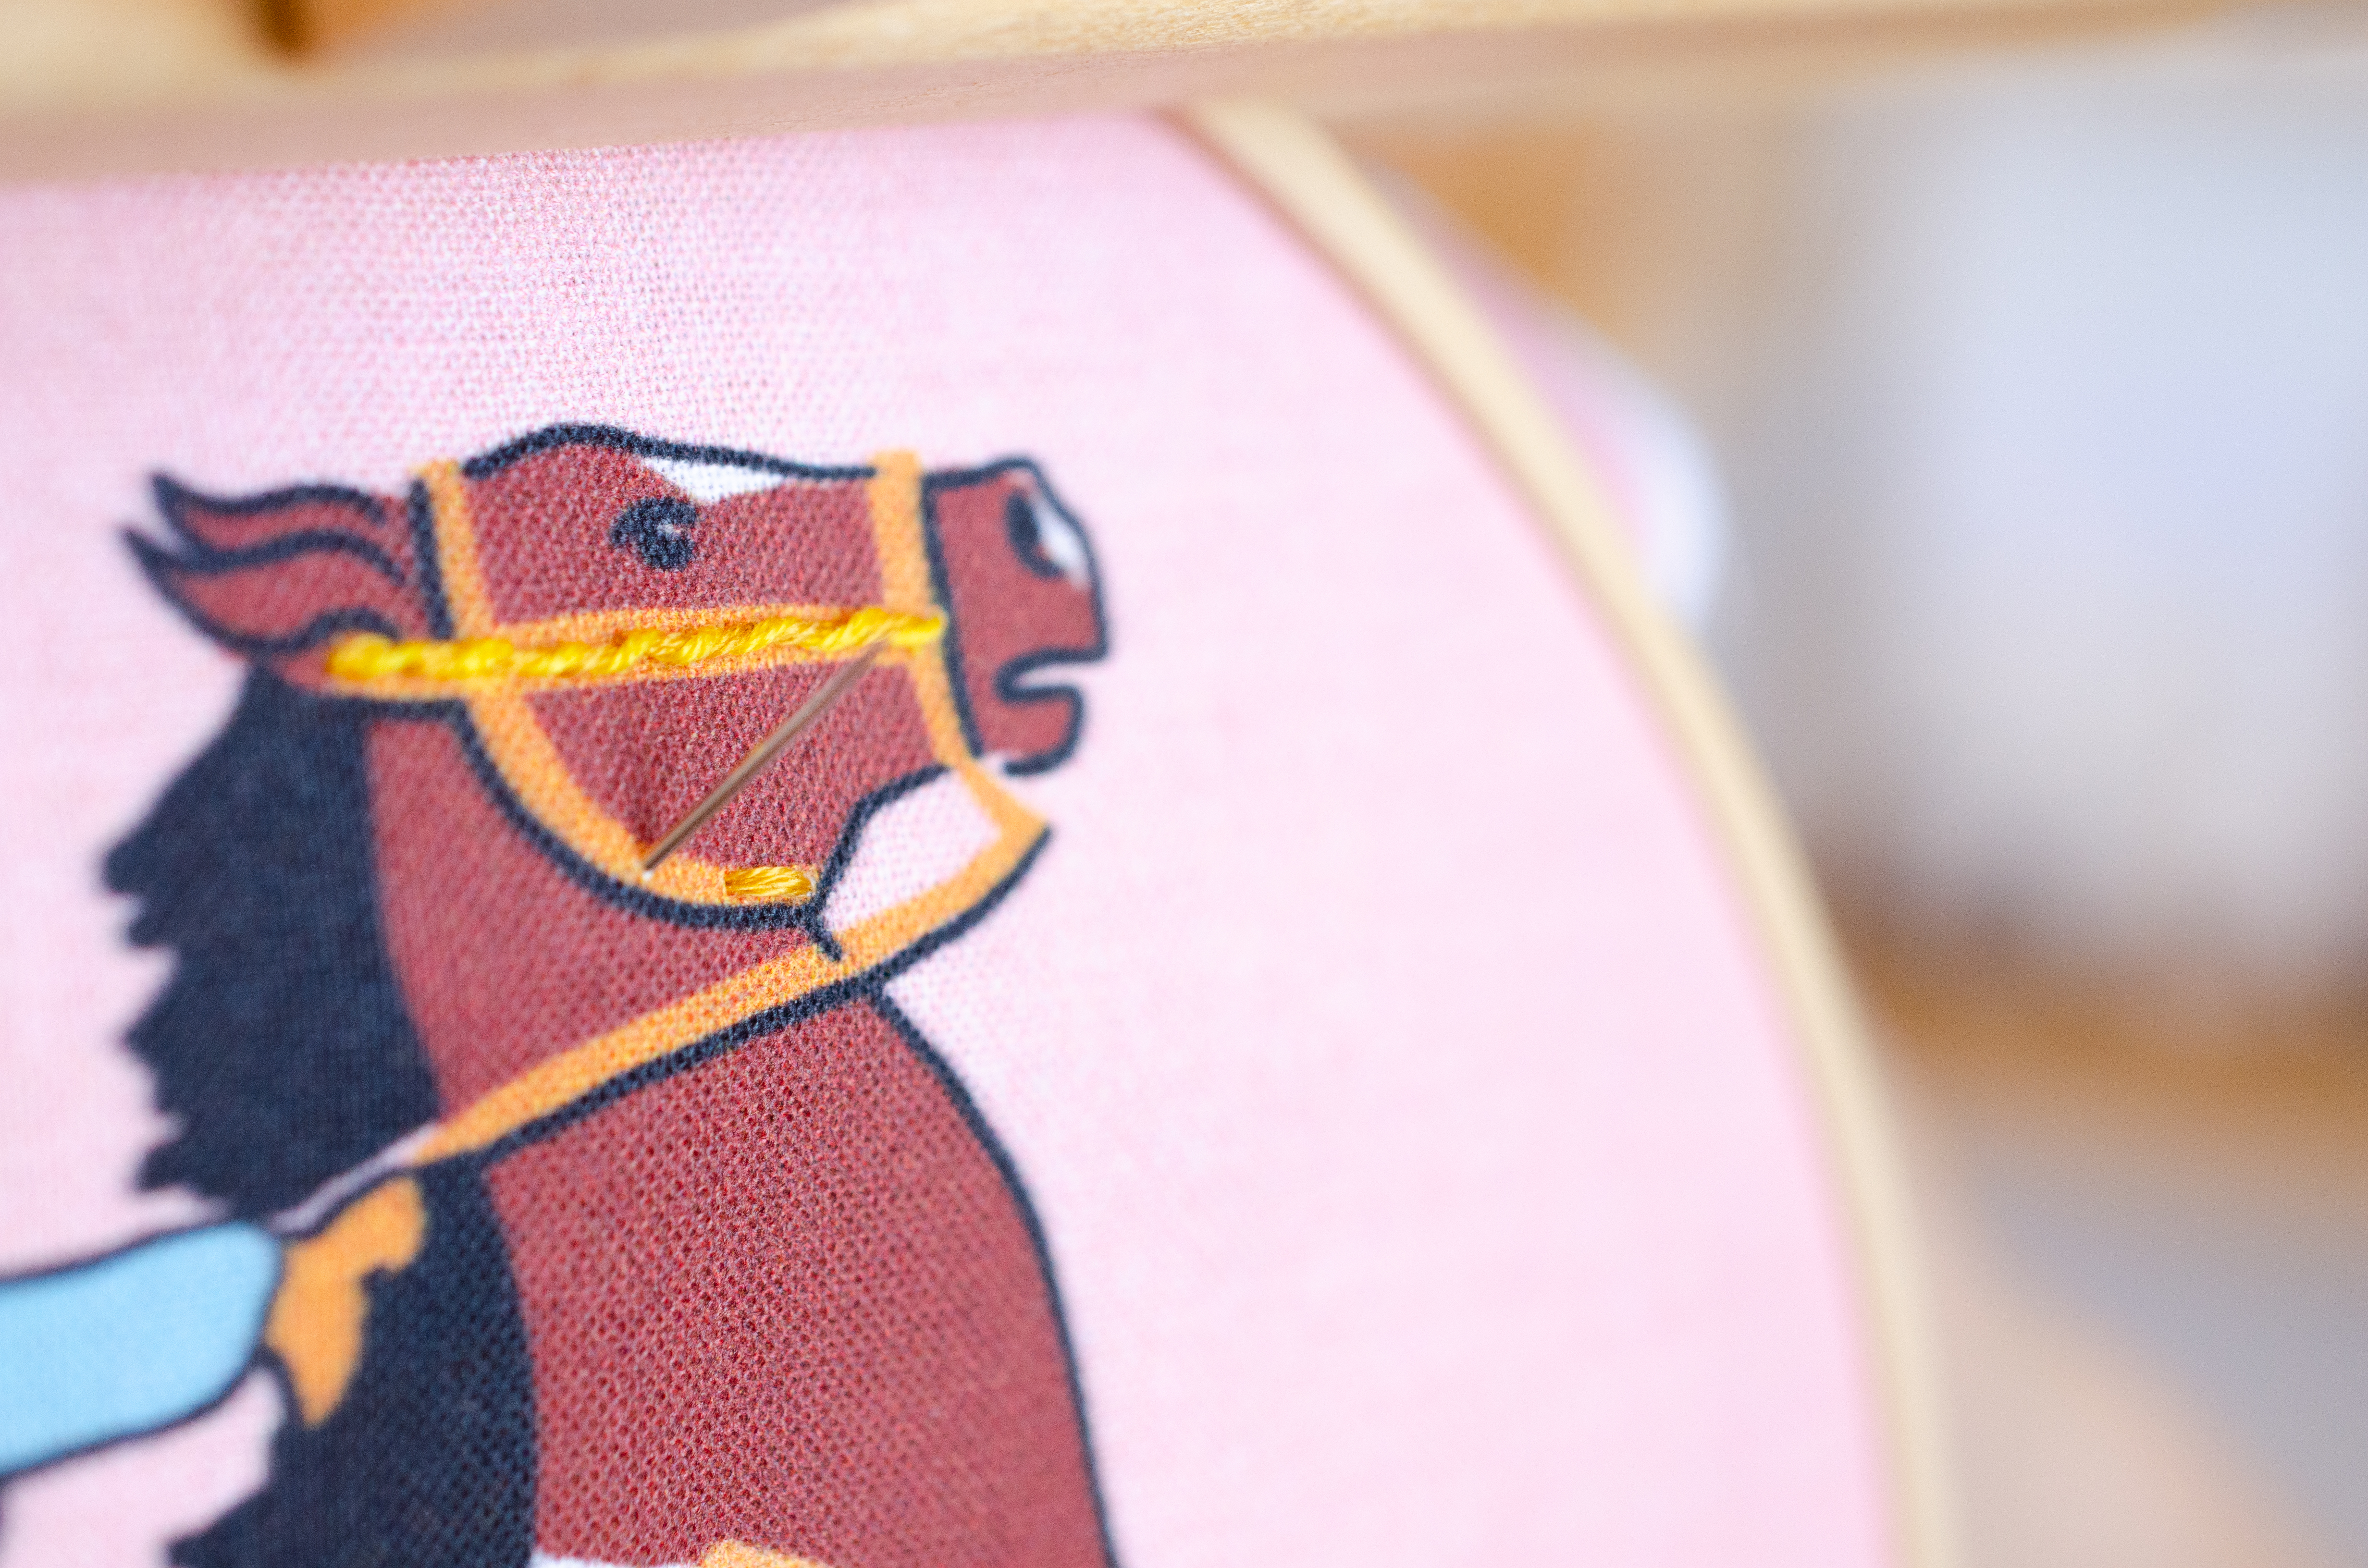
Bring your needle bottom to top (or top to bottom, both work) through the back stitch. You WILL NOT be going through fabric in this part except to start and stop.
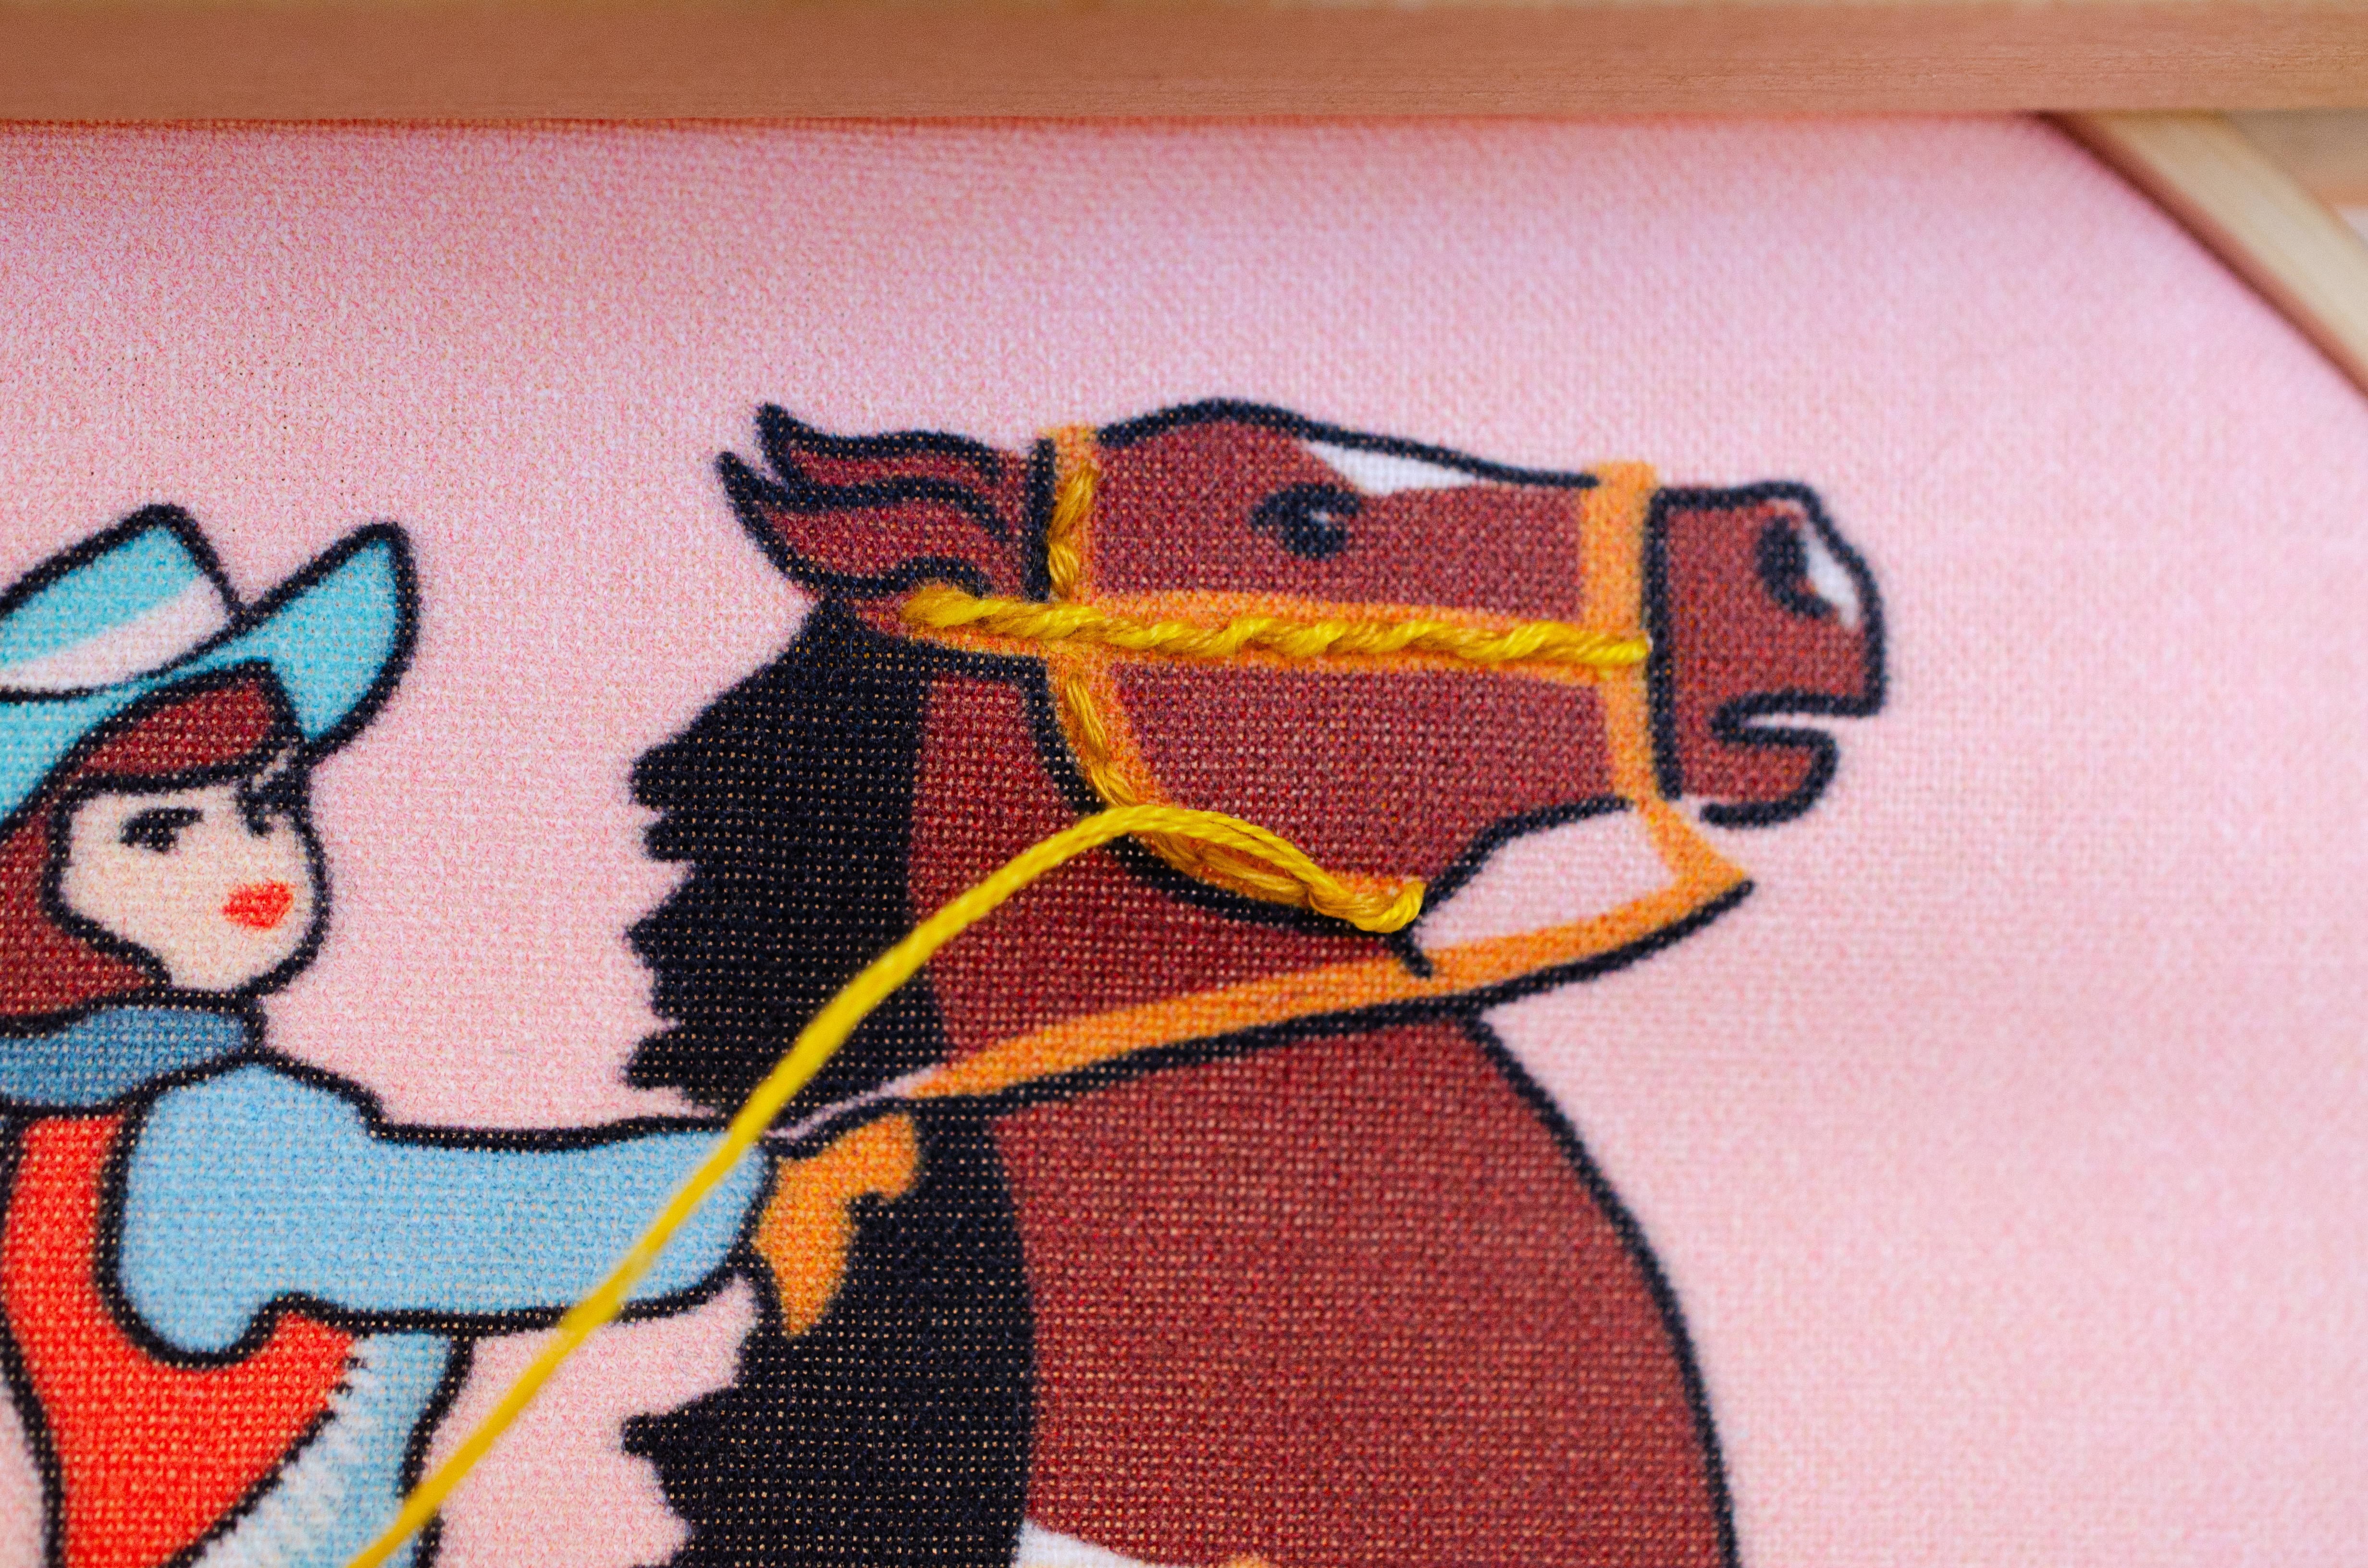
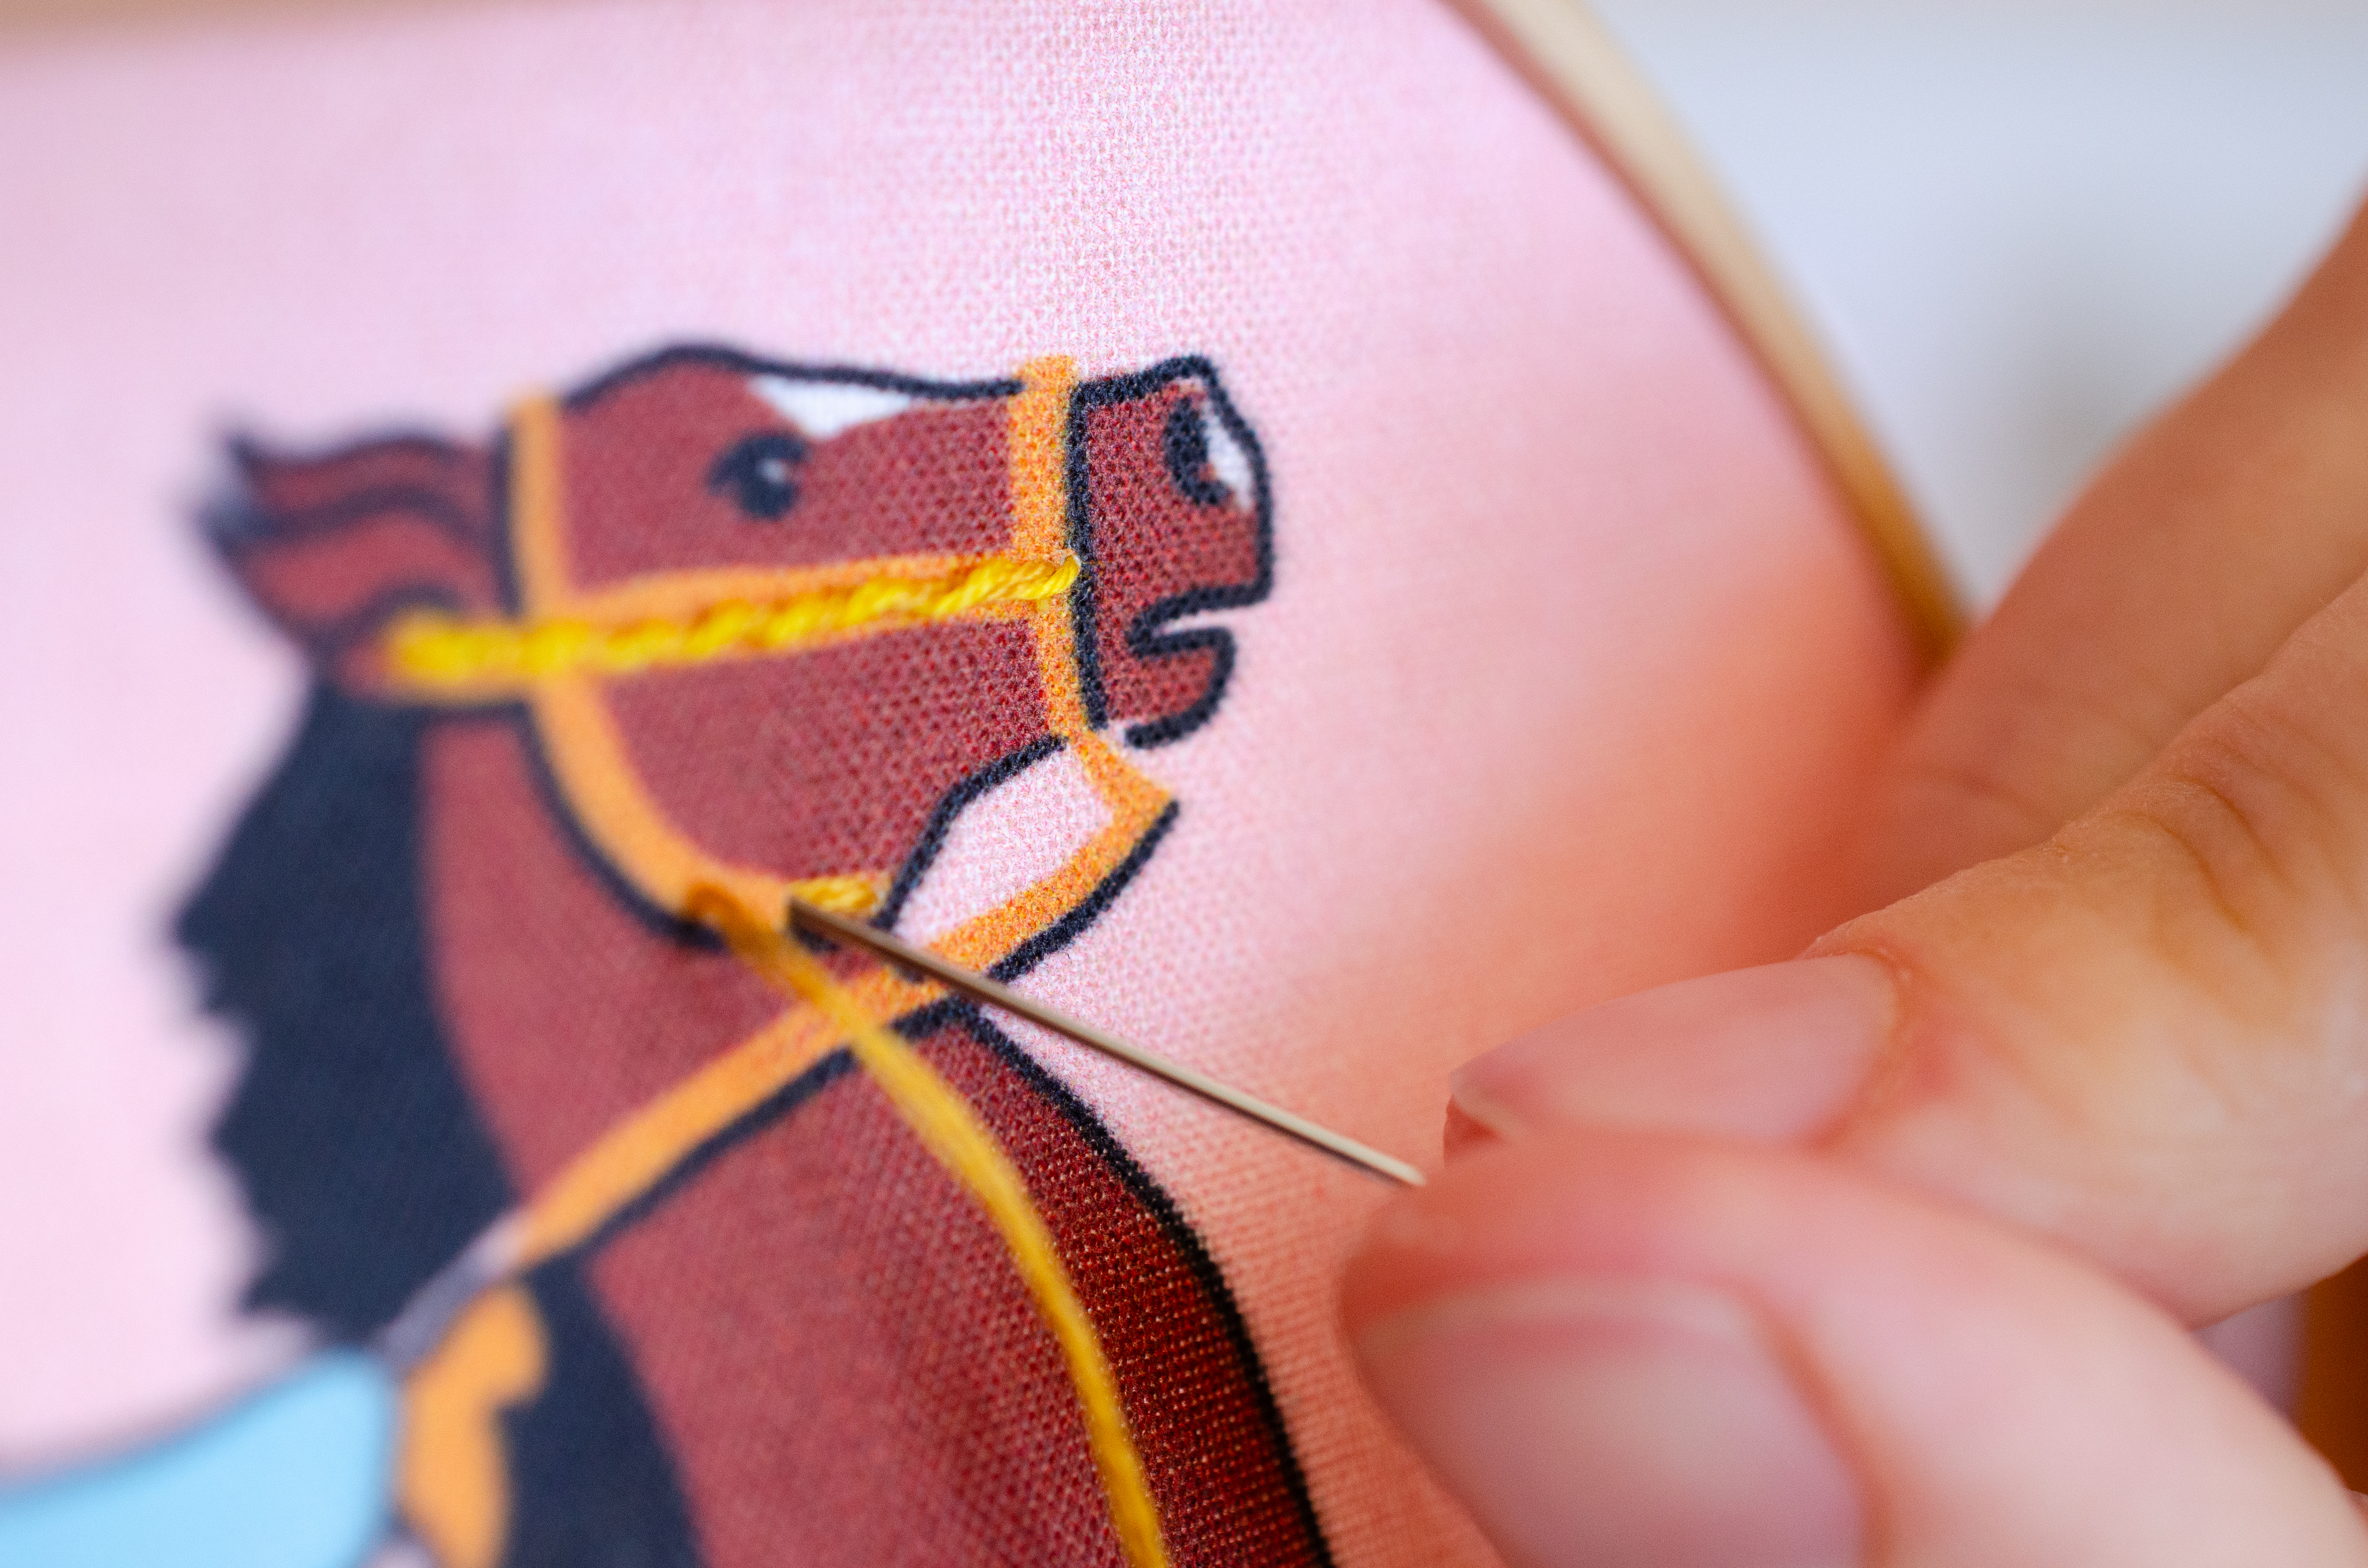
Step 7:
Pull the thread completely through the stitch.
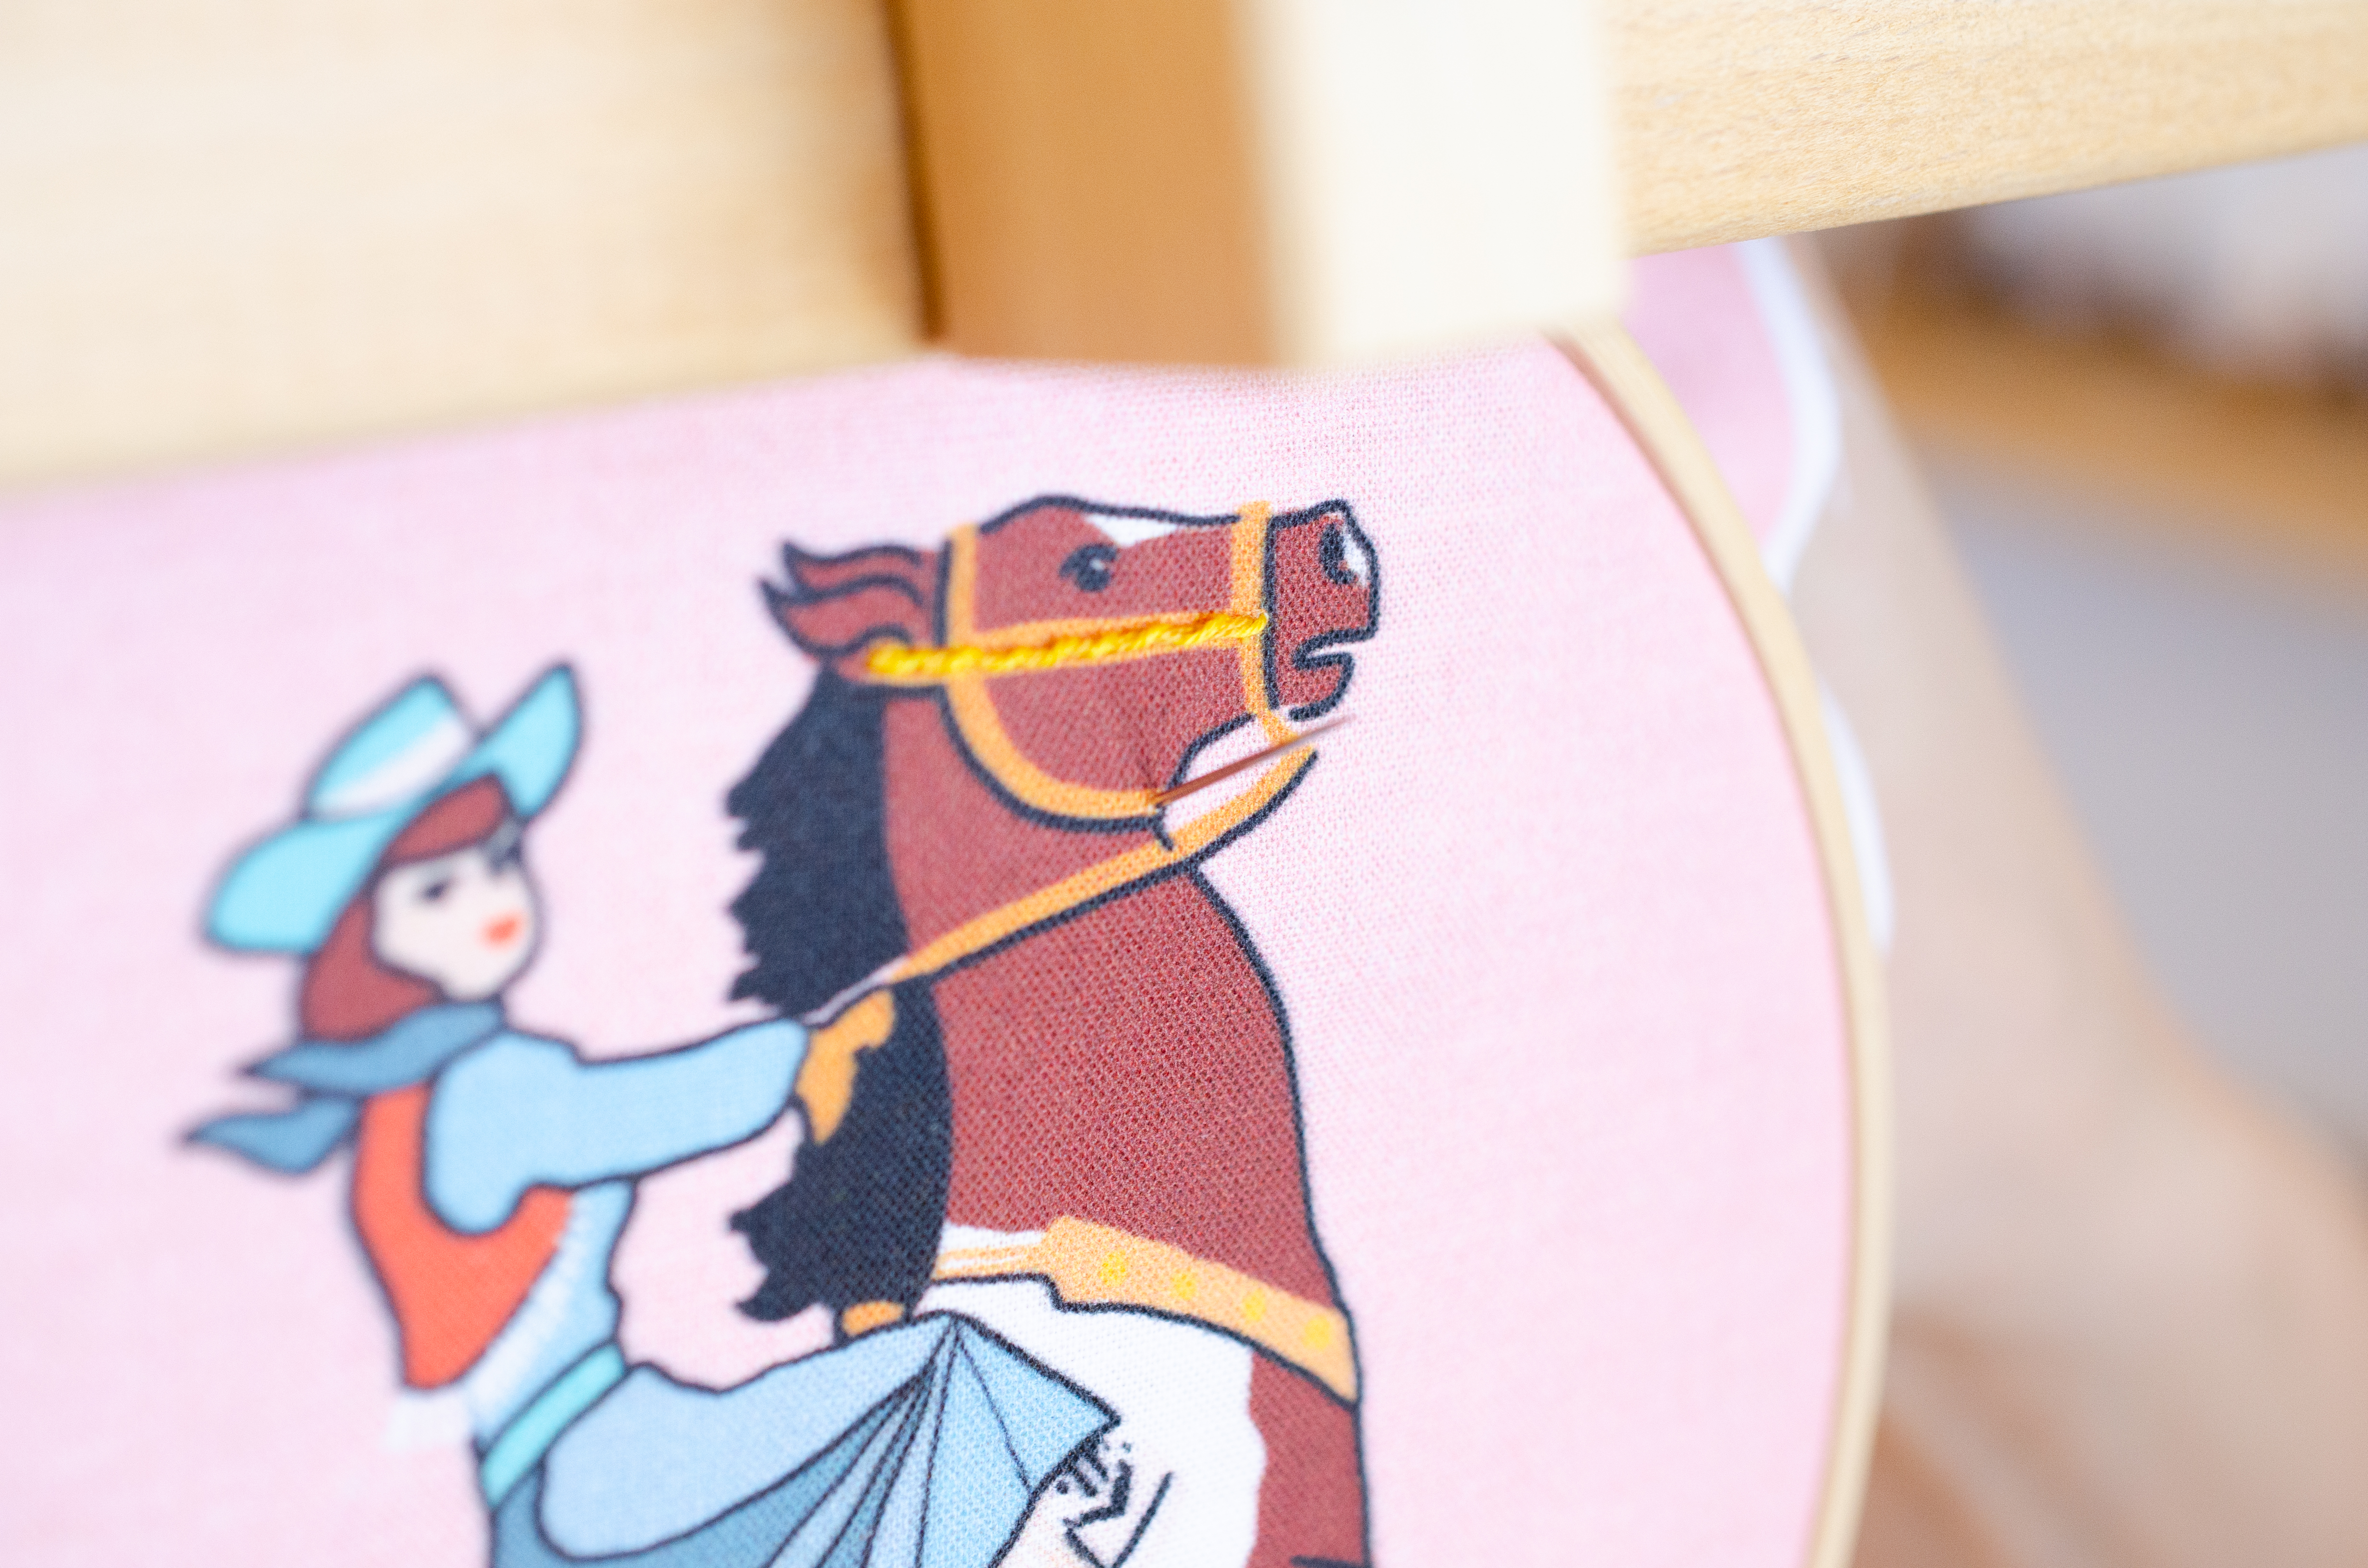
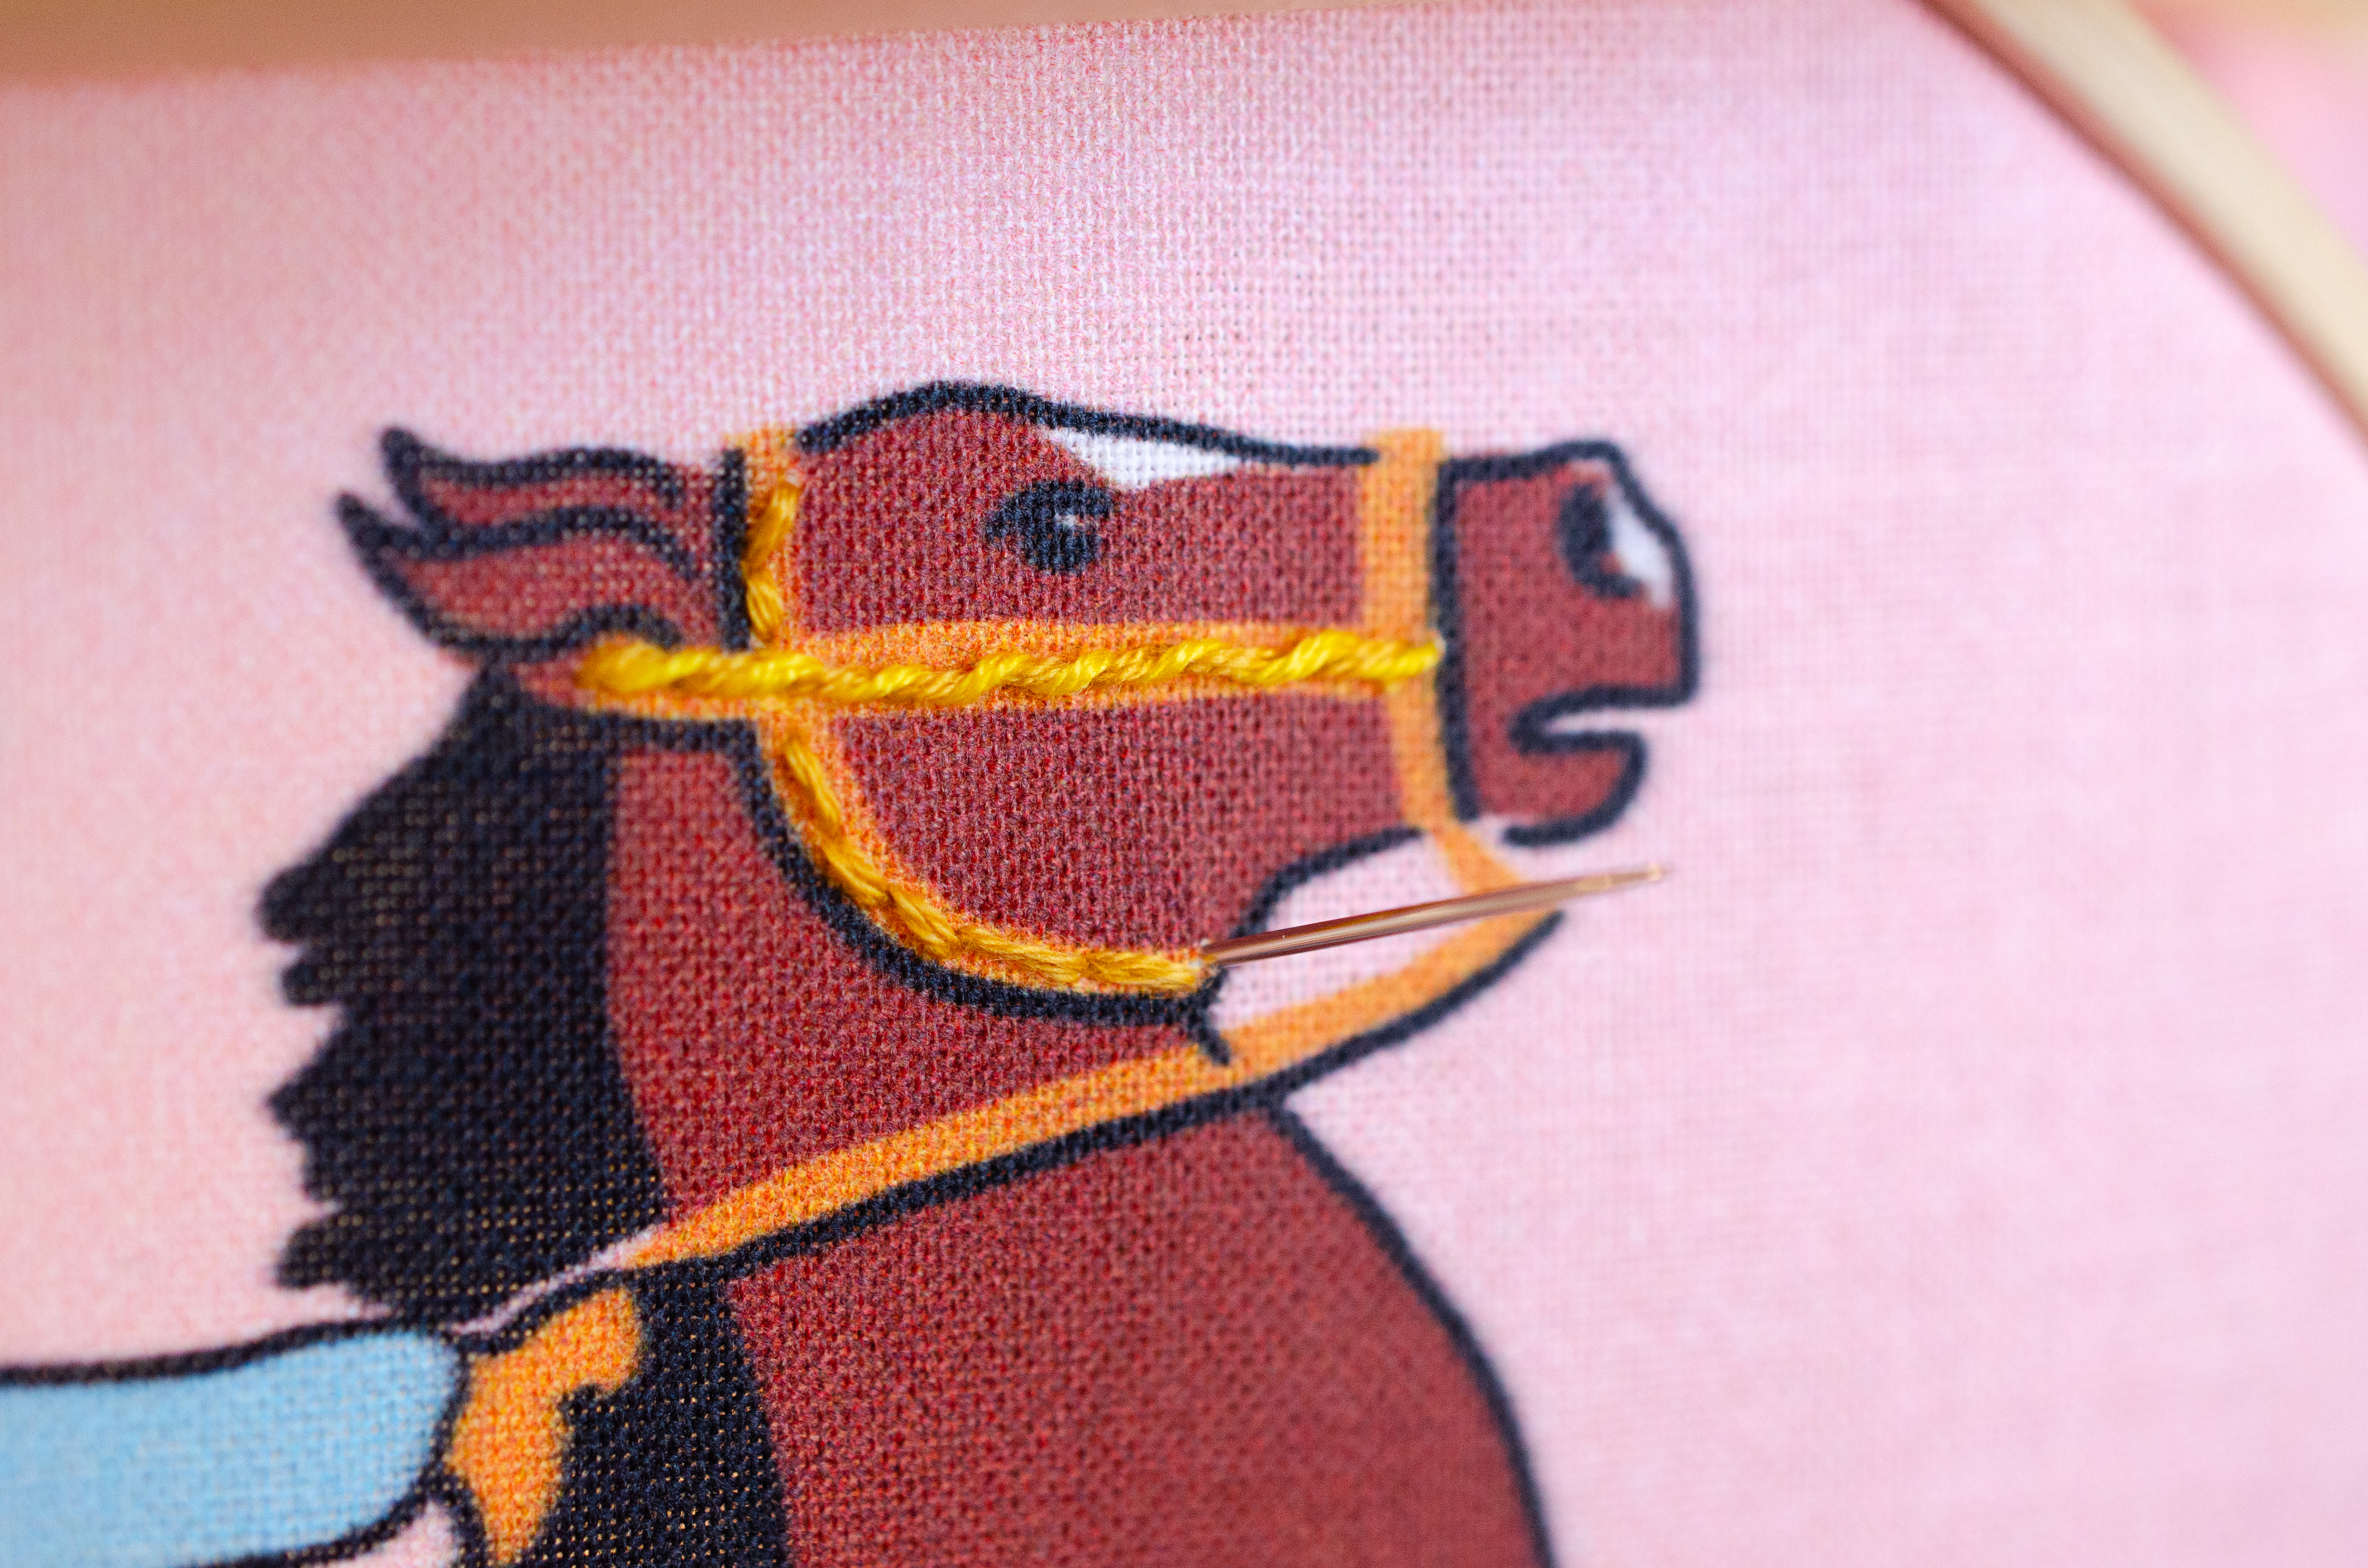
Step 8:
Repeat steps 6 and 7 until you've reached the end of your rope. When you've finished, bring your needle through the fabric, to the back and knot off your thread to secure.