Posted by Bailey Rivera on 19th Mar 2024
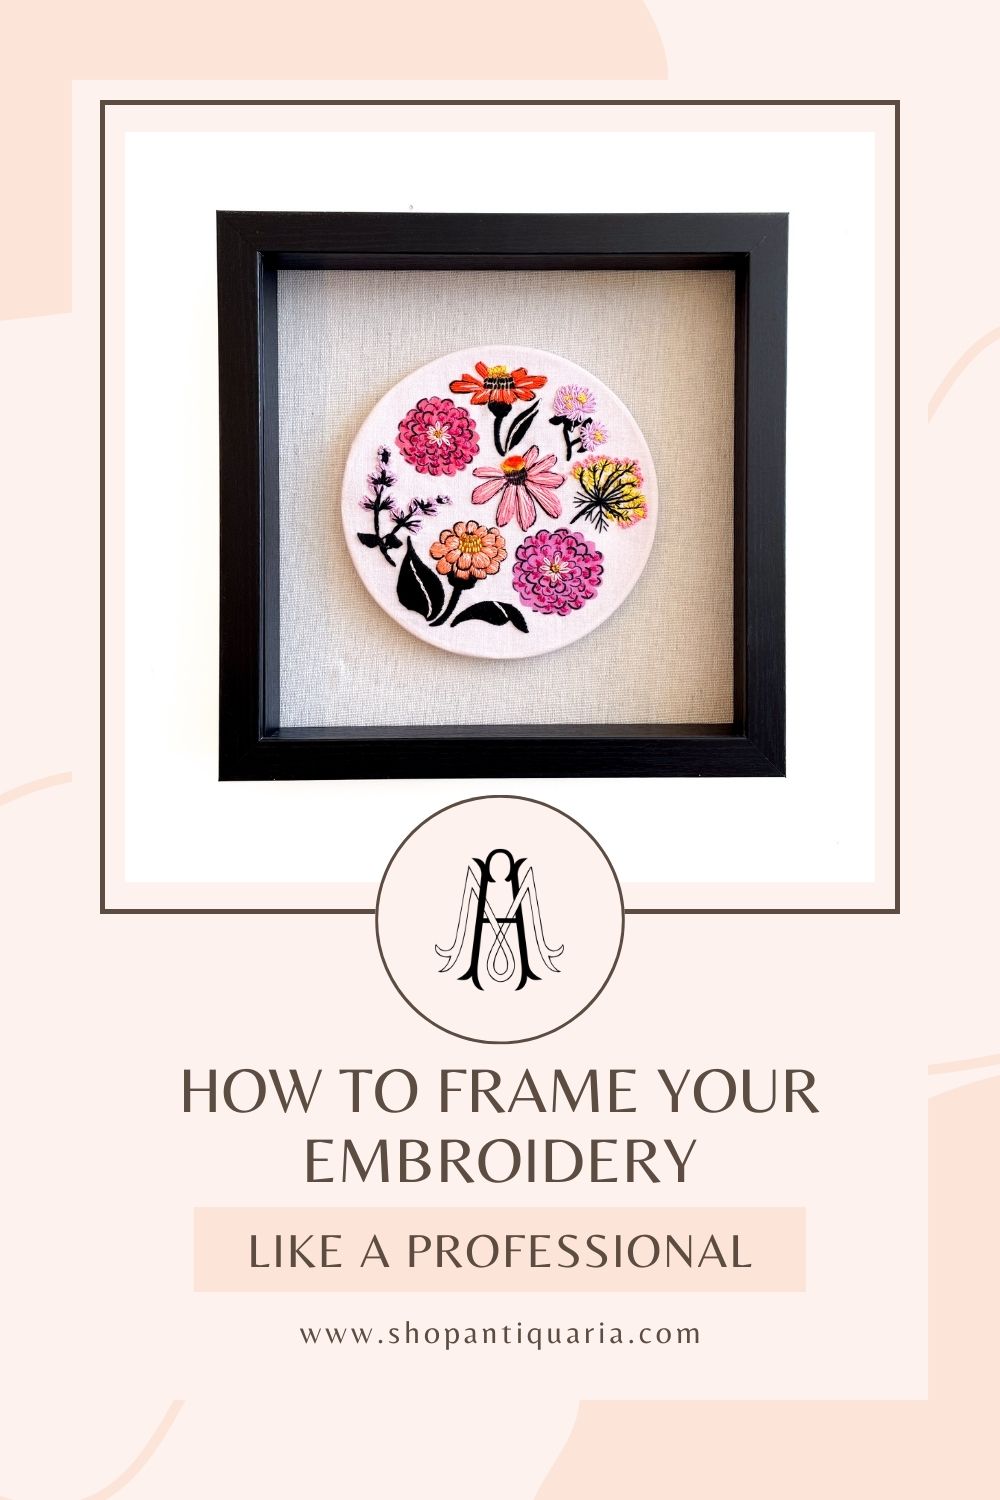
Embroidery Framing 101: Elevate Your Stitch with a Linen Shadowbox Frame
If you’ve been around here for very long at all, you’ll know that we love embroidery as a way to slow down, to finish the day, to do something creative. The thing that we’ve noticed, however, is that our finished pieces have tended to linger and not be displayed or used. Well, no more! Over the past few years, we’ve been brainstorming ways to take our embroidery pieces beyond the hoop and into our everyday.
Today’s tutorial brings you something really, really special. It’s special because with very little effort it takes your embroidery into the place of fine art. These finished frames look SO GOOD!
Emma started making these as a way to display her one of a kind embroidery pieces on her walls and we’ve been obsessed ever since. We’ve turned almost every embroidery kit we make into one of these framed masterpieces to display in our flagship and today we’re sharing all of the details with you!
So….let’s make it! We promise, it’s going to break your brain just how simple it is.
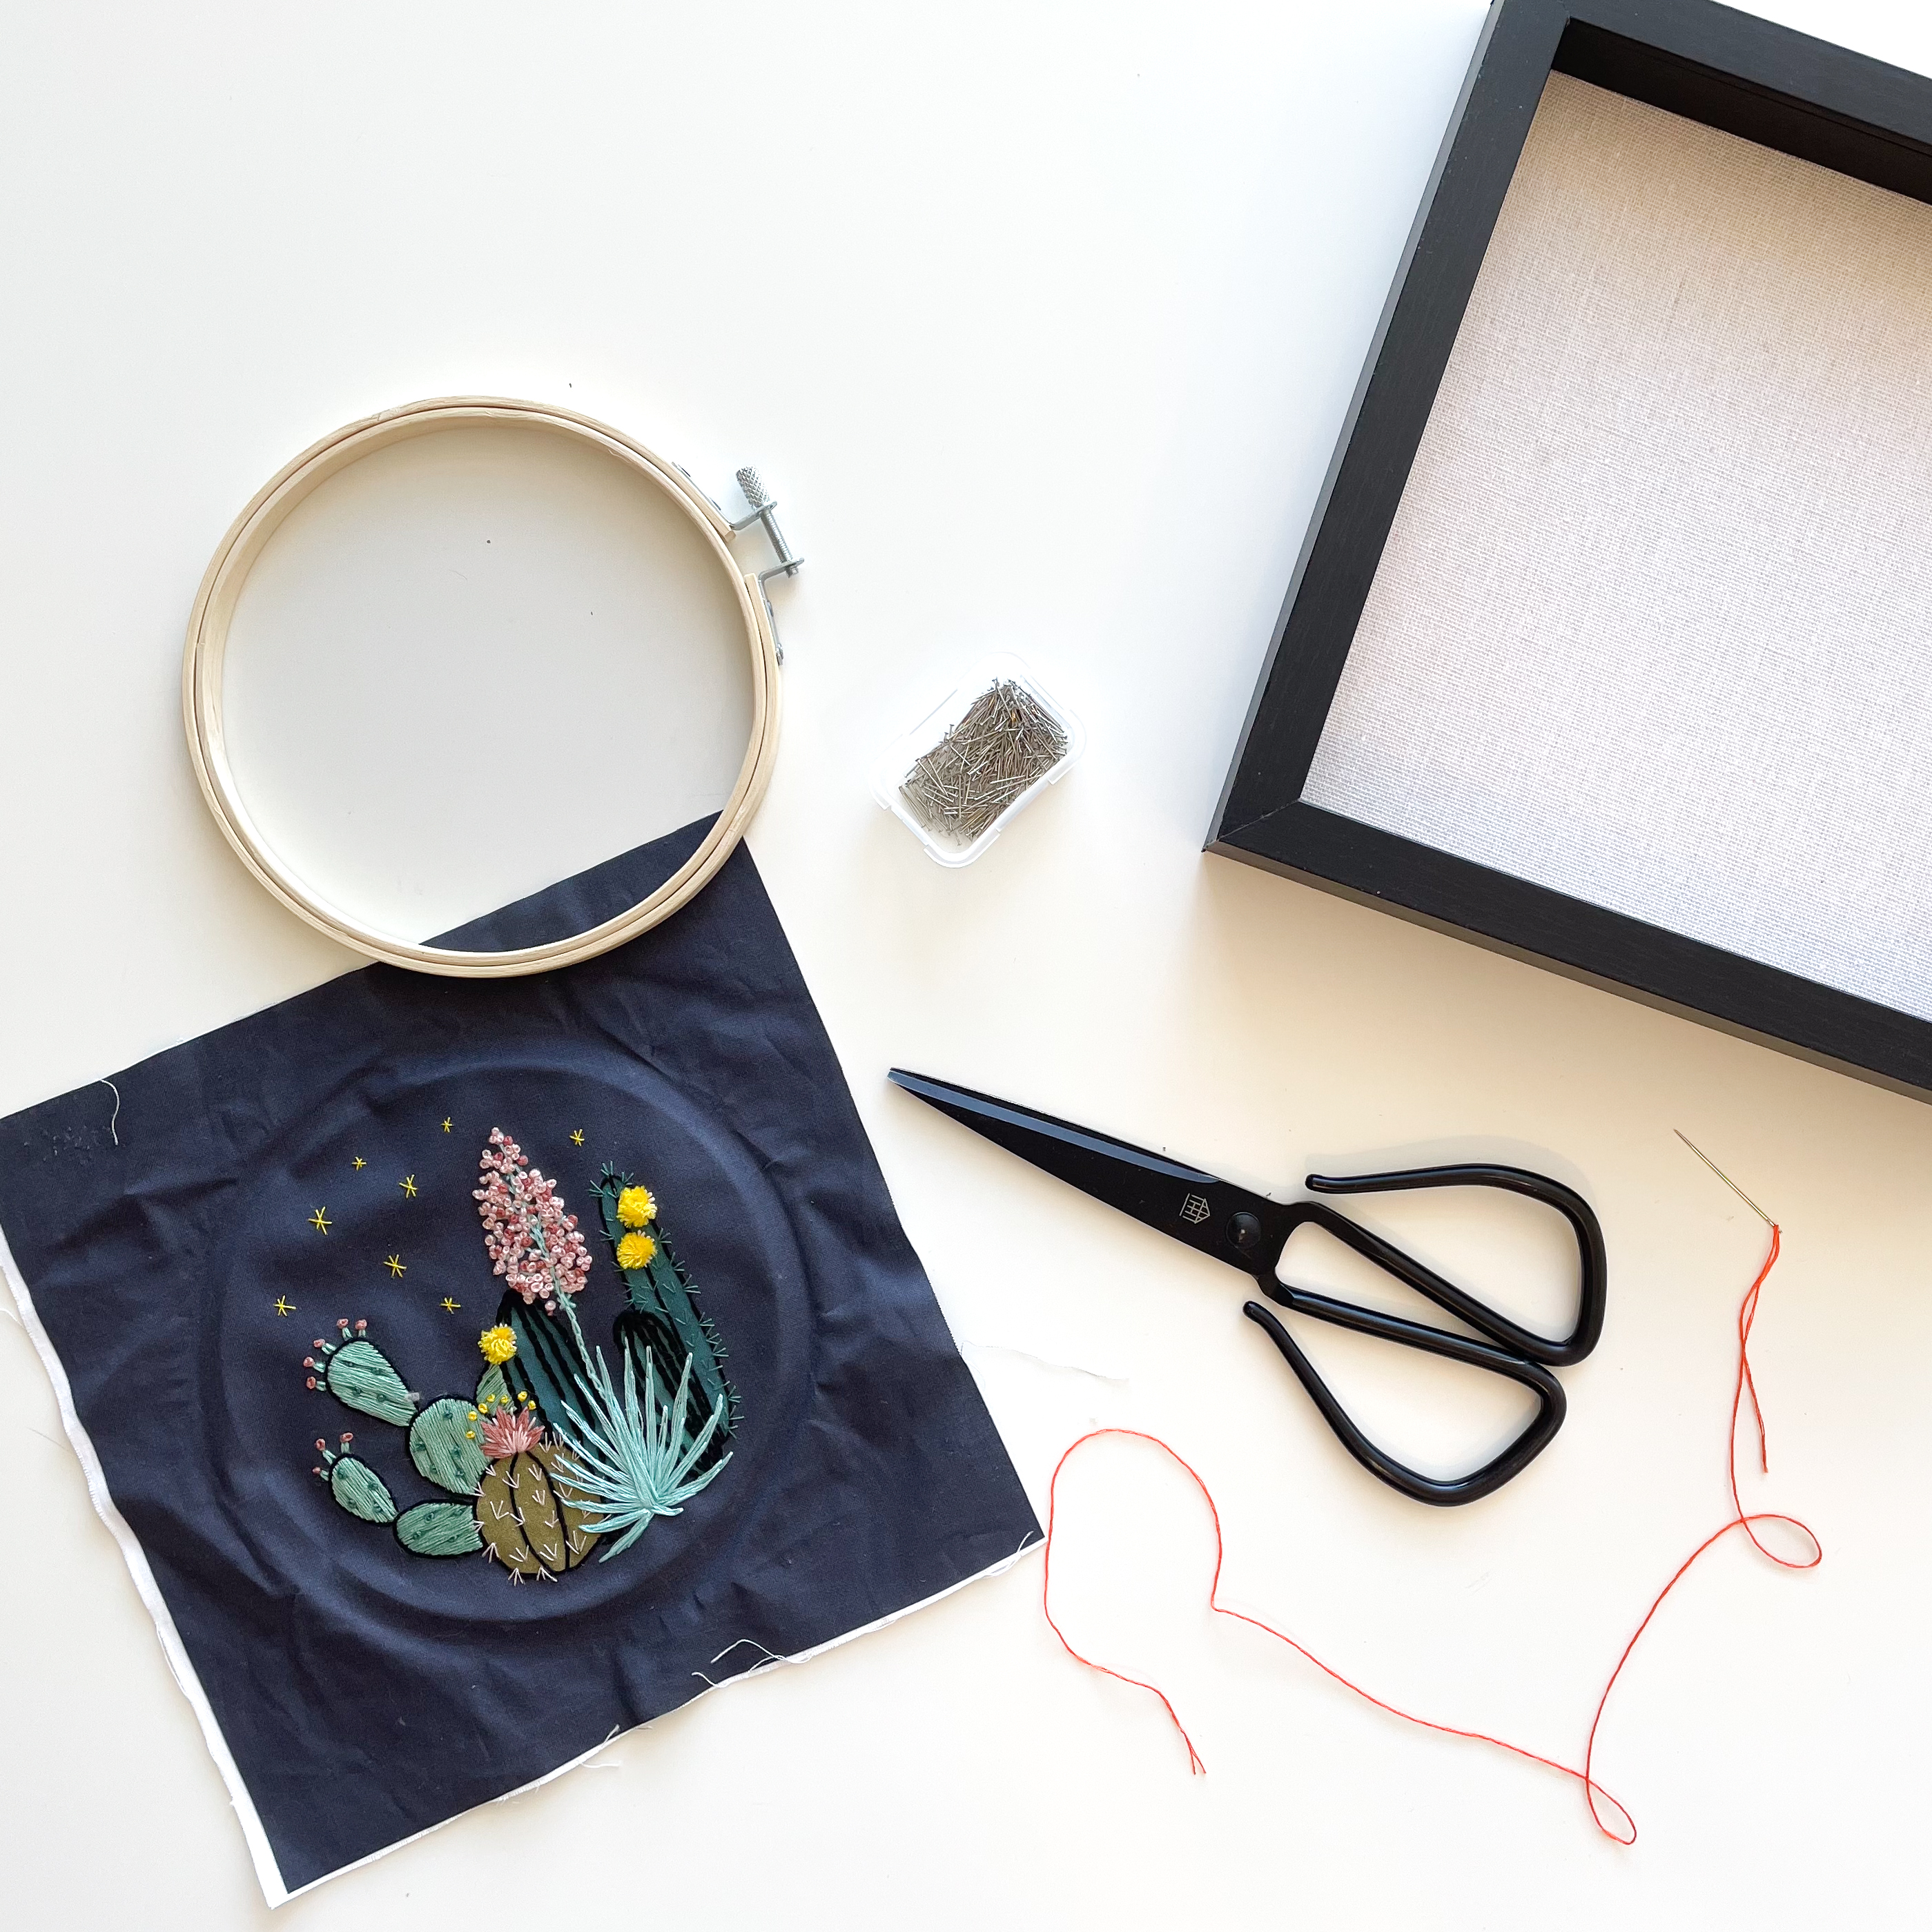
Materials:
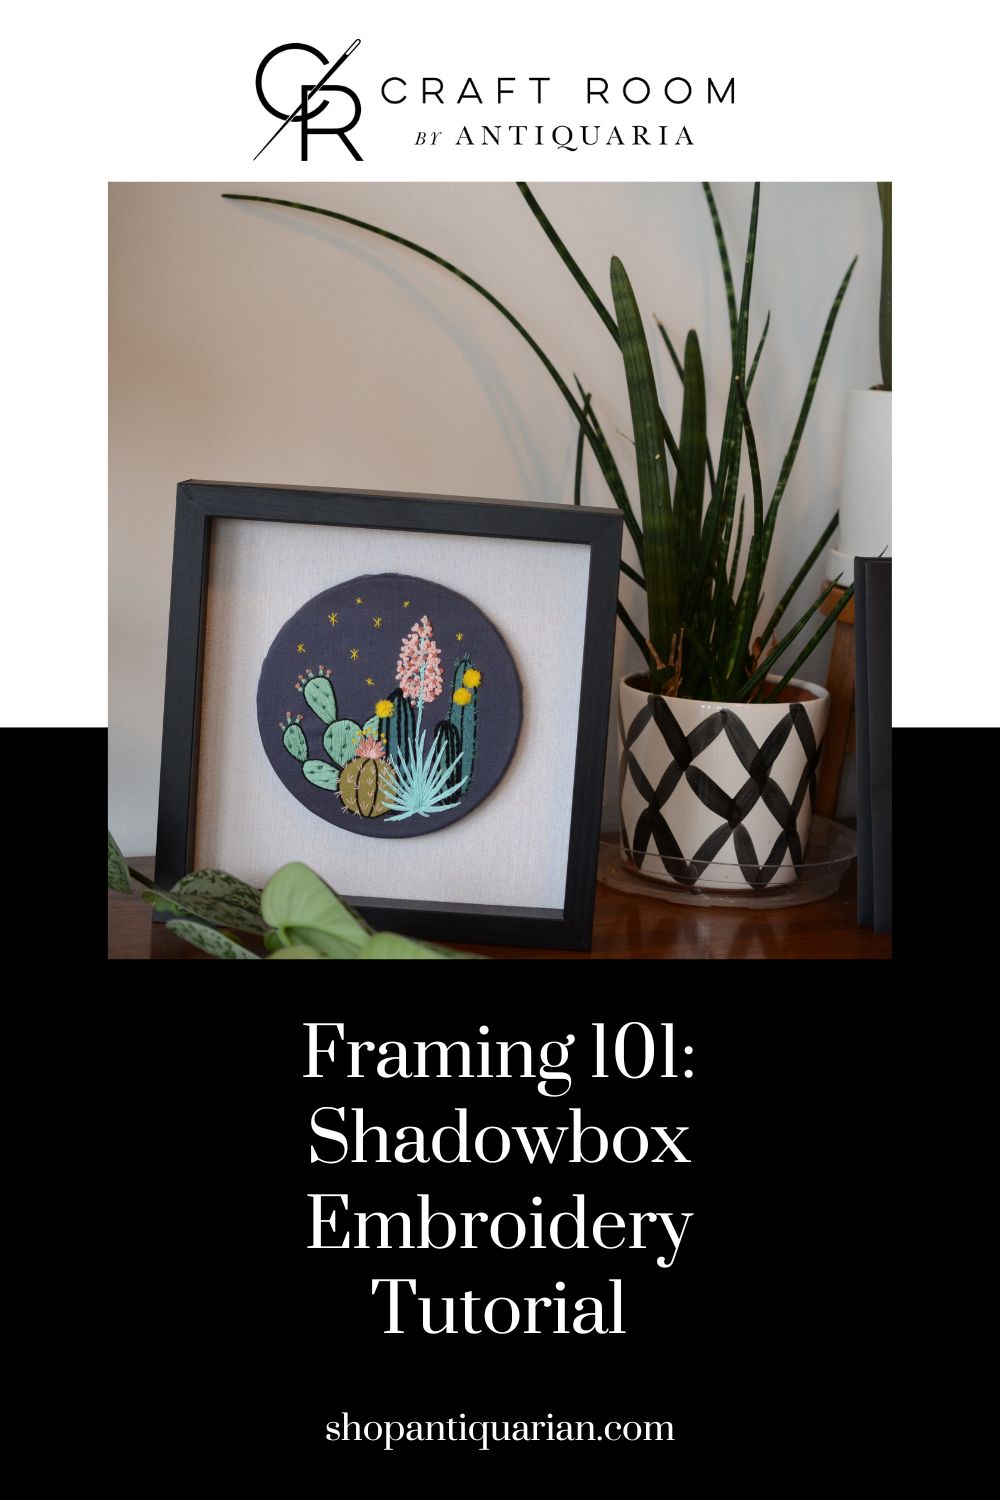
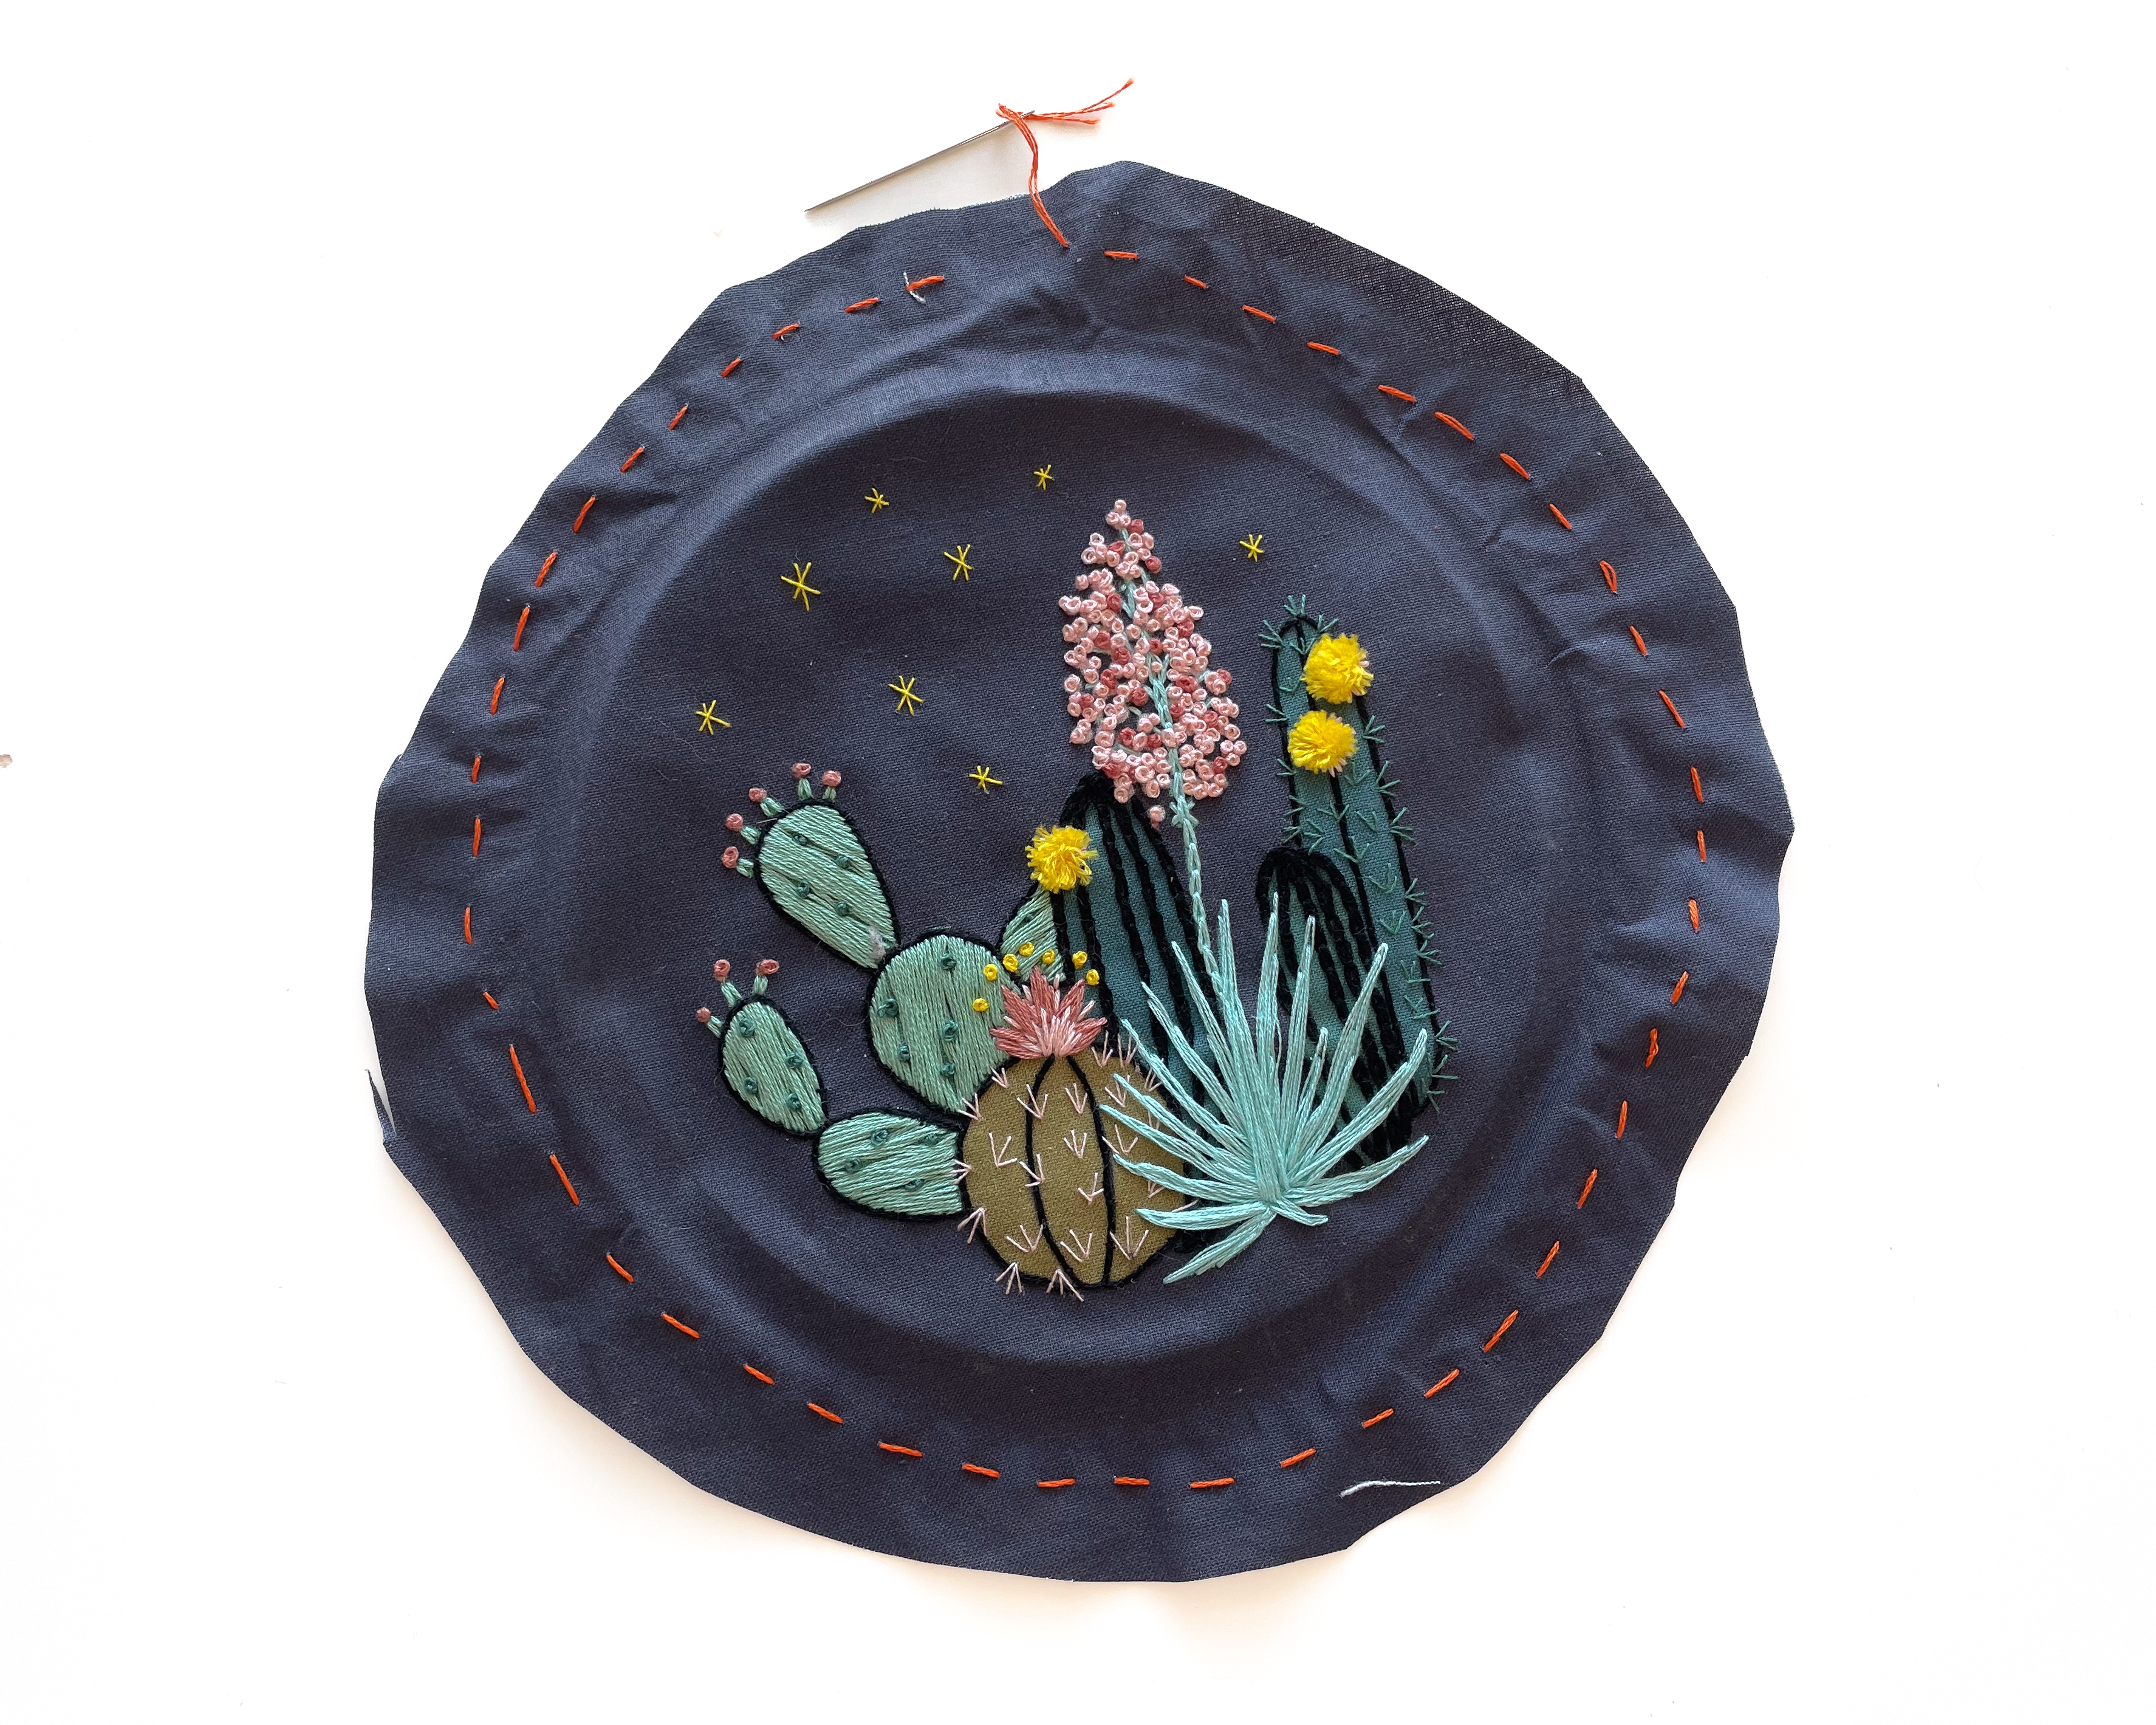
- Finished Embroidery & Hoop (6 in hoop is ideal for this frame). You can find our gorgeous assortment of embroidery kits here. We used our Night Cactus Embroidery Kit for this demo.
- Scissors
- Needle
- Thread
- Linen Backed Shadowbox frame
- Fine pins
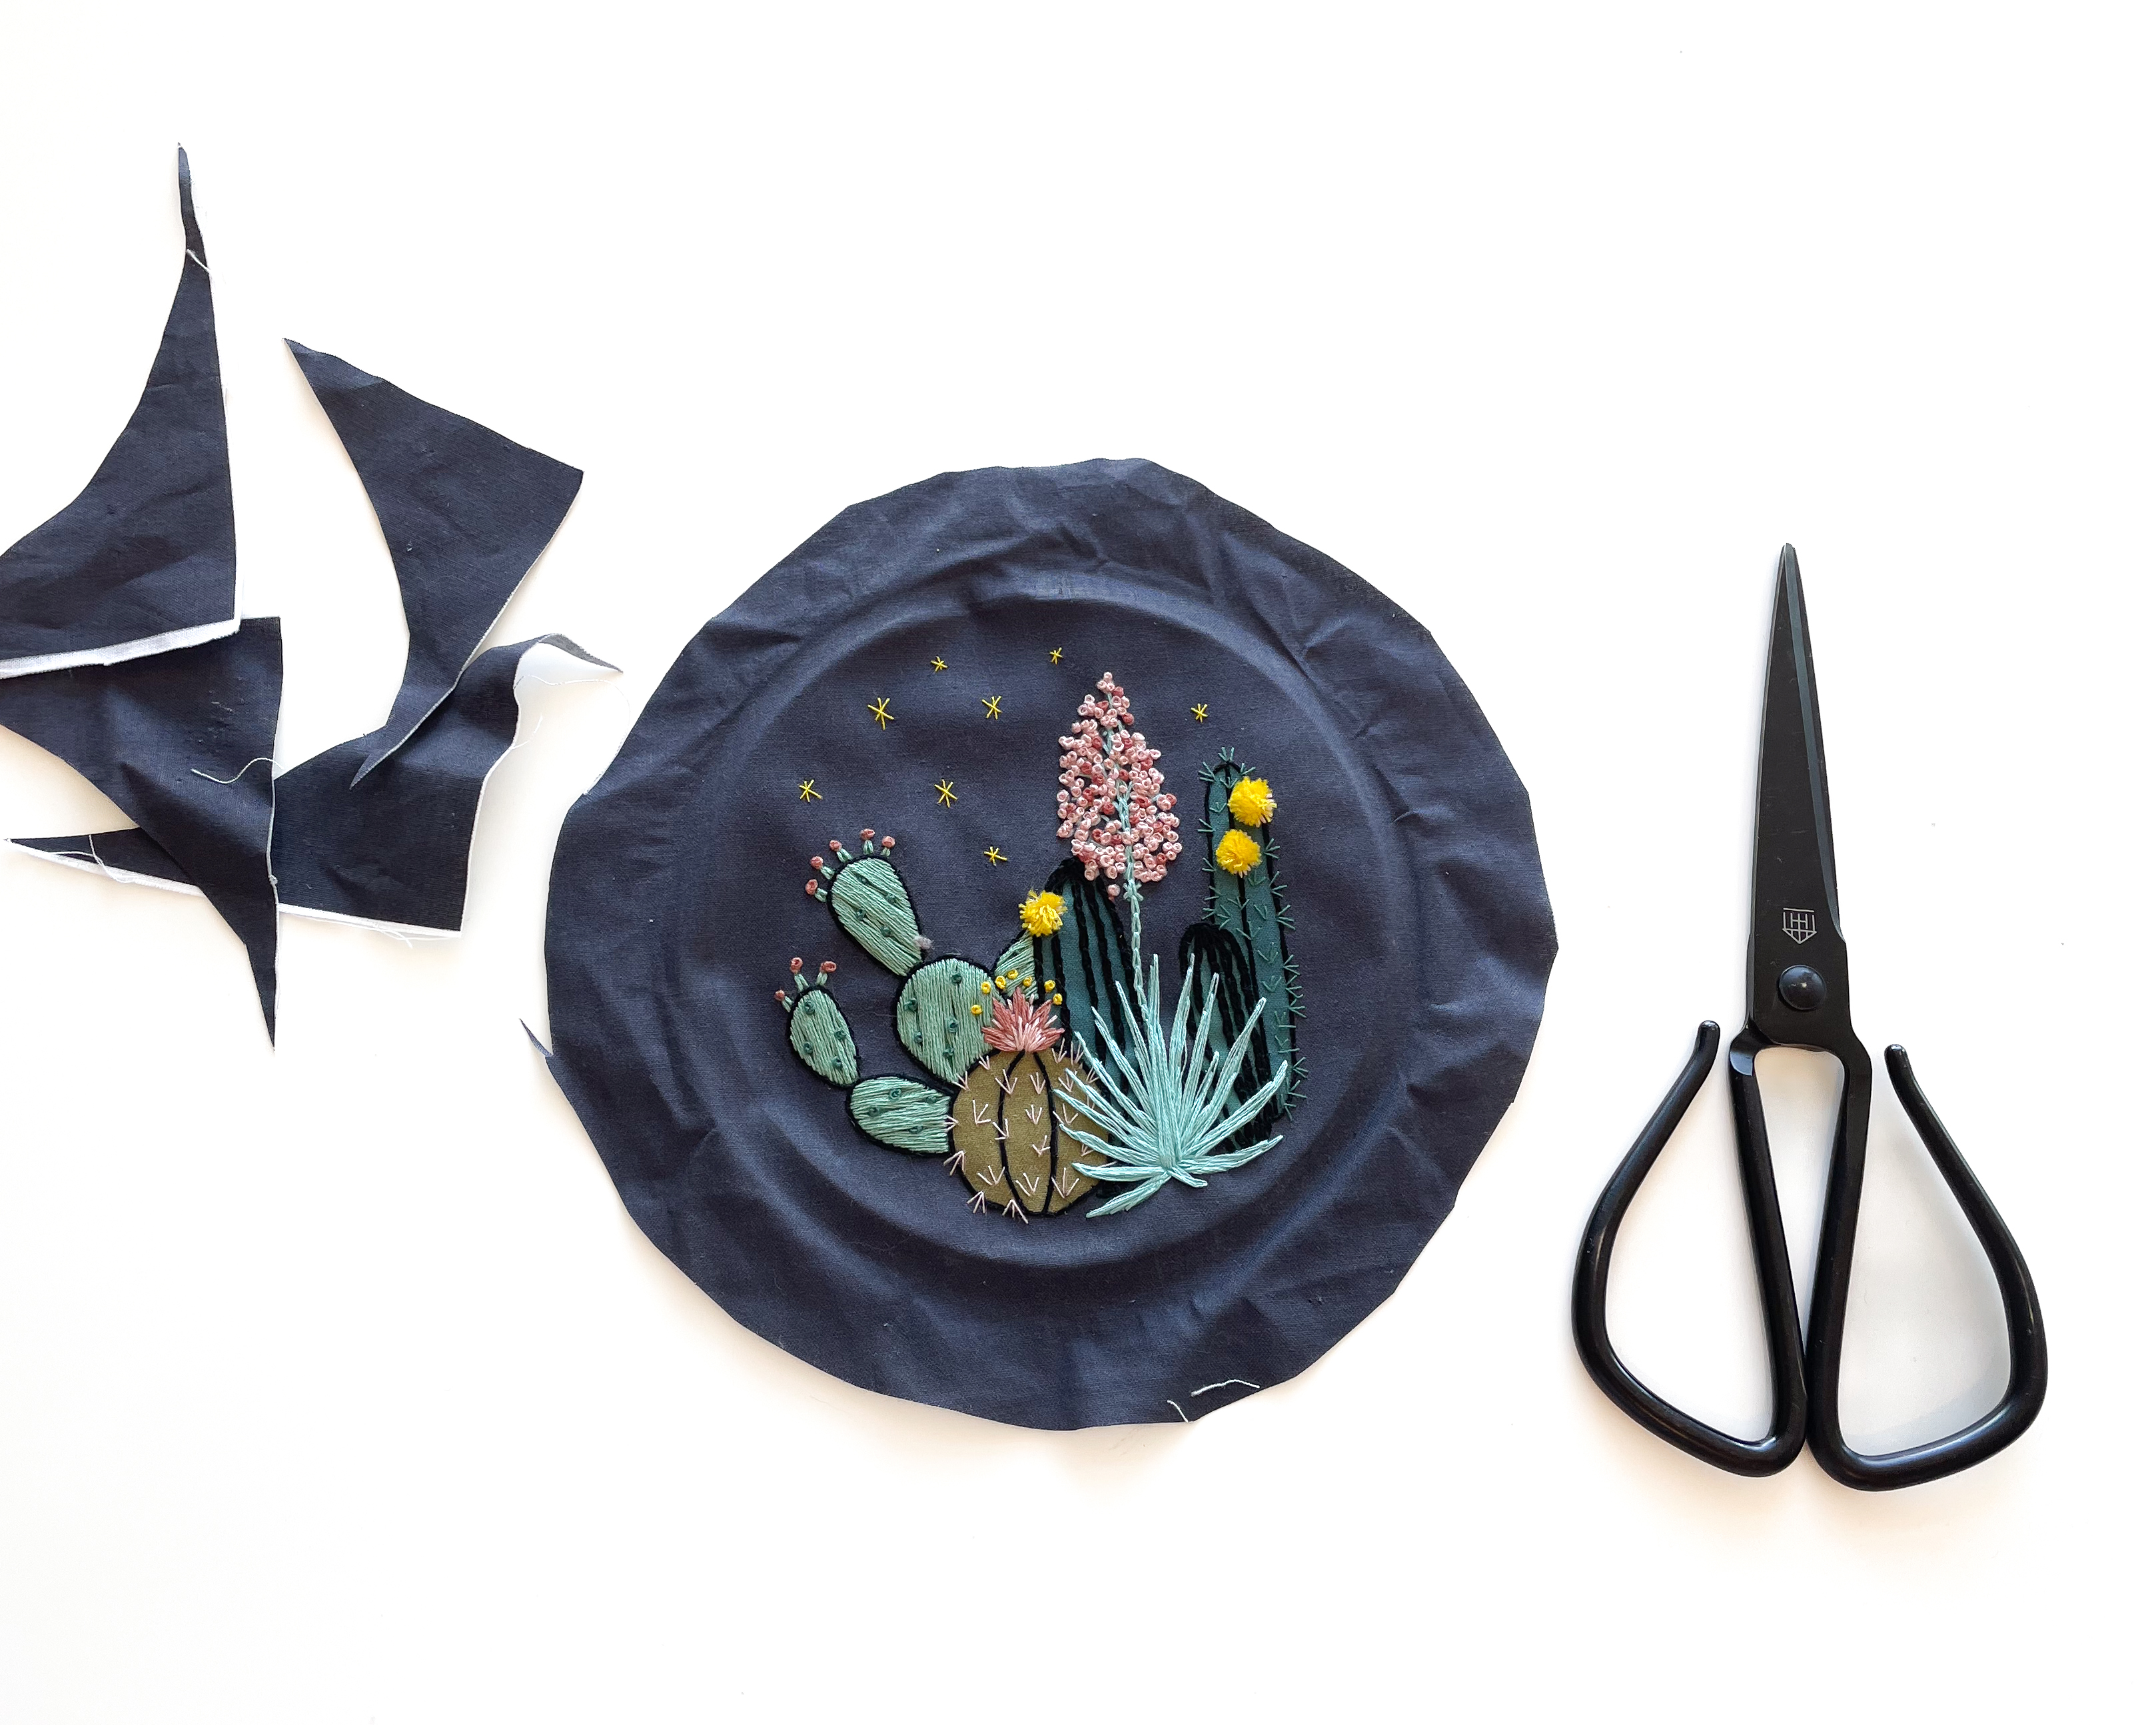
Step One:
First, you will cut off the edges of your embroidery. You can do this with it either in the hoop or out of the hoop, whichever is easiest for you.
Step Two:
Stitch around the perimeter of your circle, using a running stitch. No need for perfection here as this part won’t be seen in the end product.
Step Three:
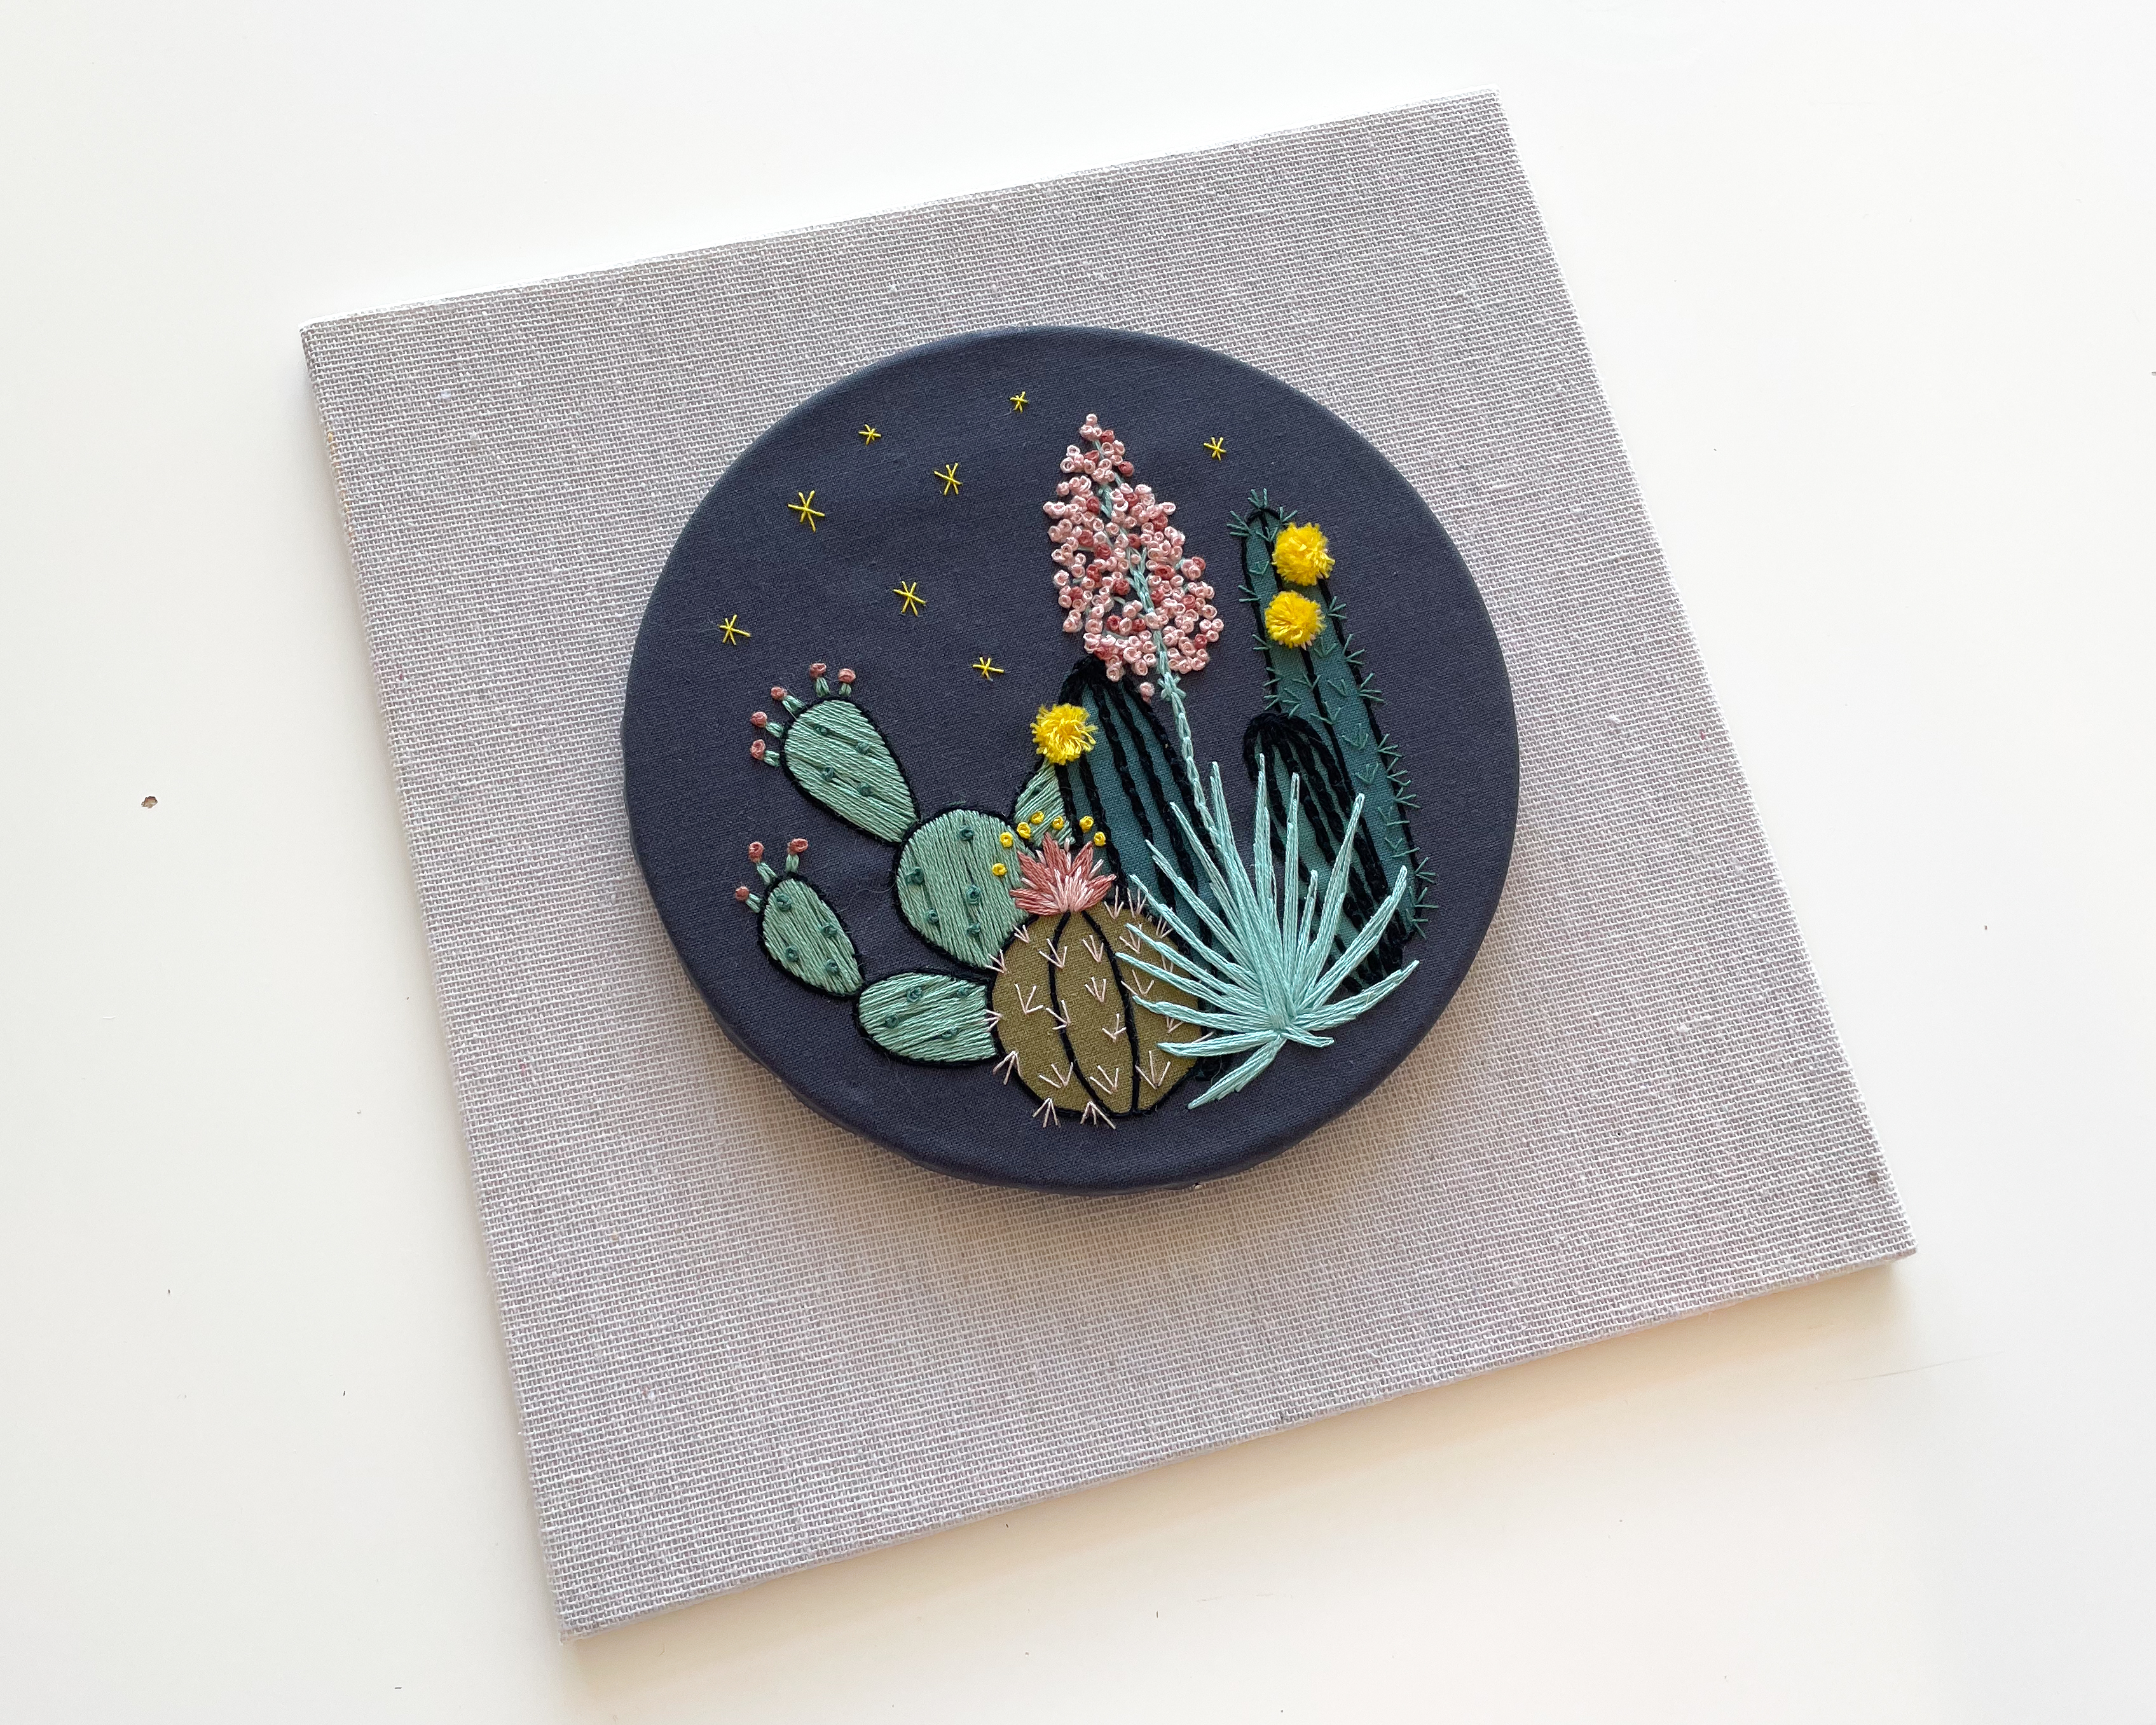
Place your inside hoop under the fabric and gather the stitches around to secure the fabric onto the inner hoop. Knot your work to secure your piece. Once you have the embroidery on your inner hoop, get the linen foam core backing (part of your frame) and center the piece within the square.
Step Four:
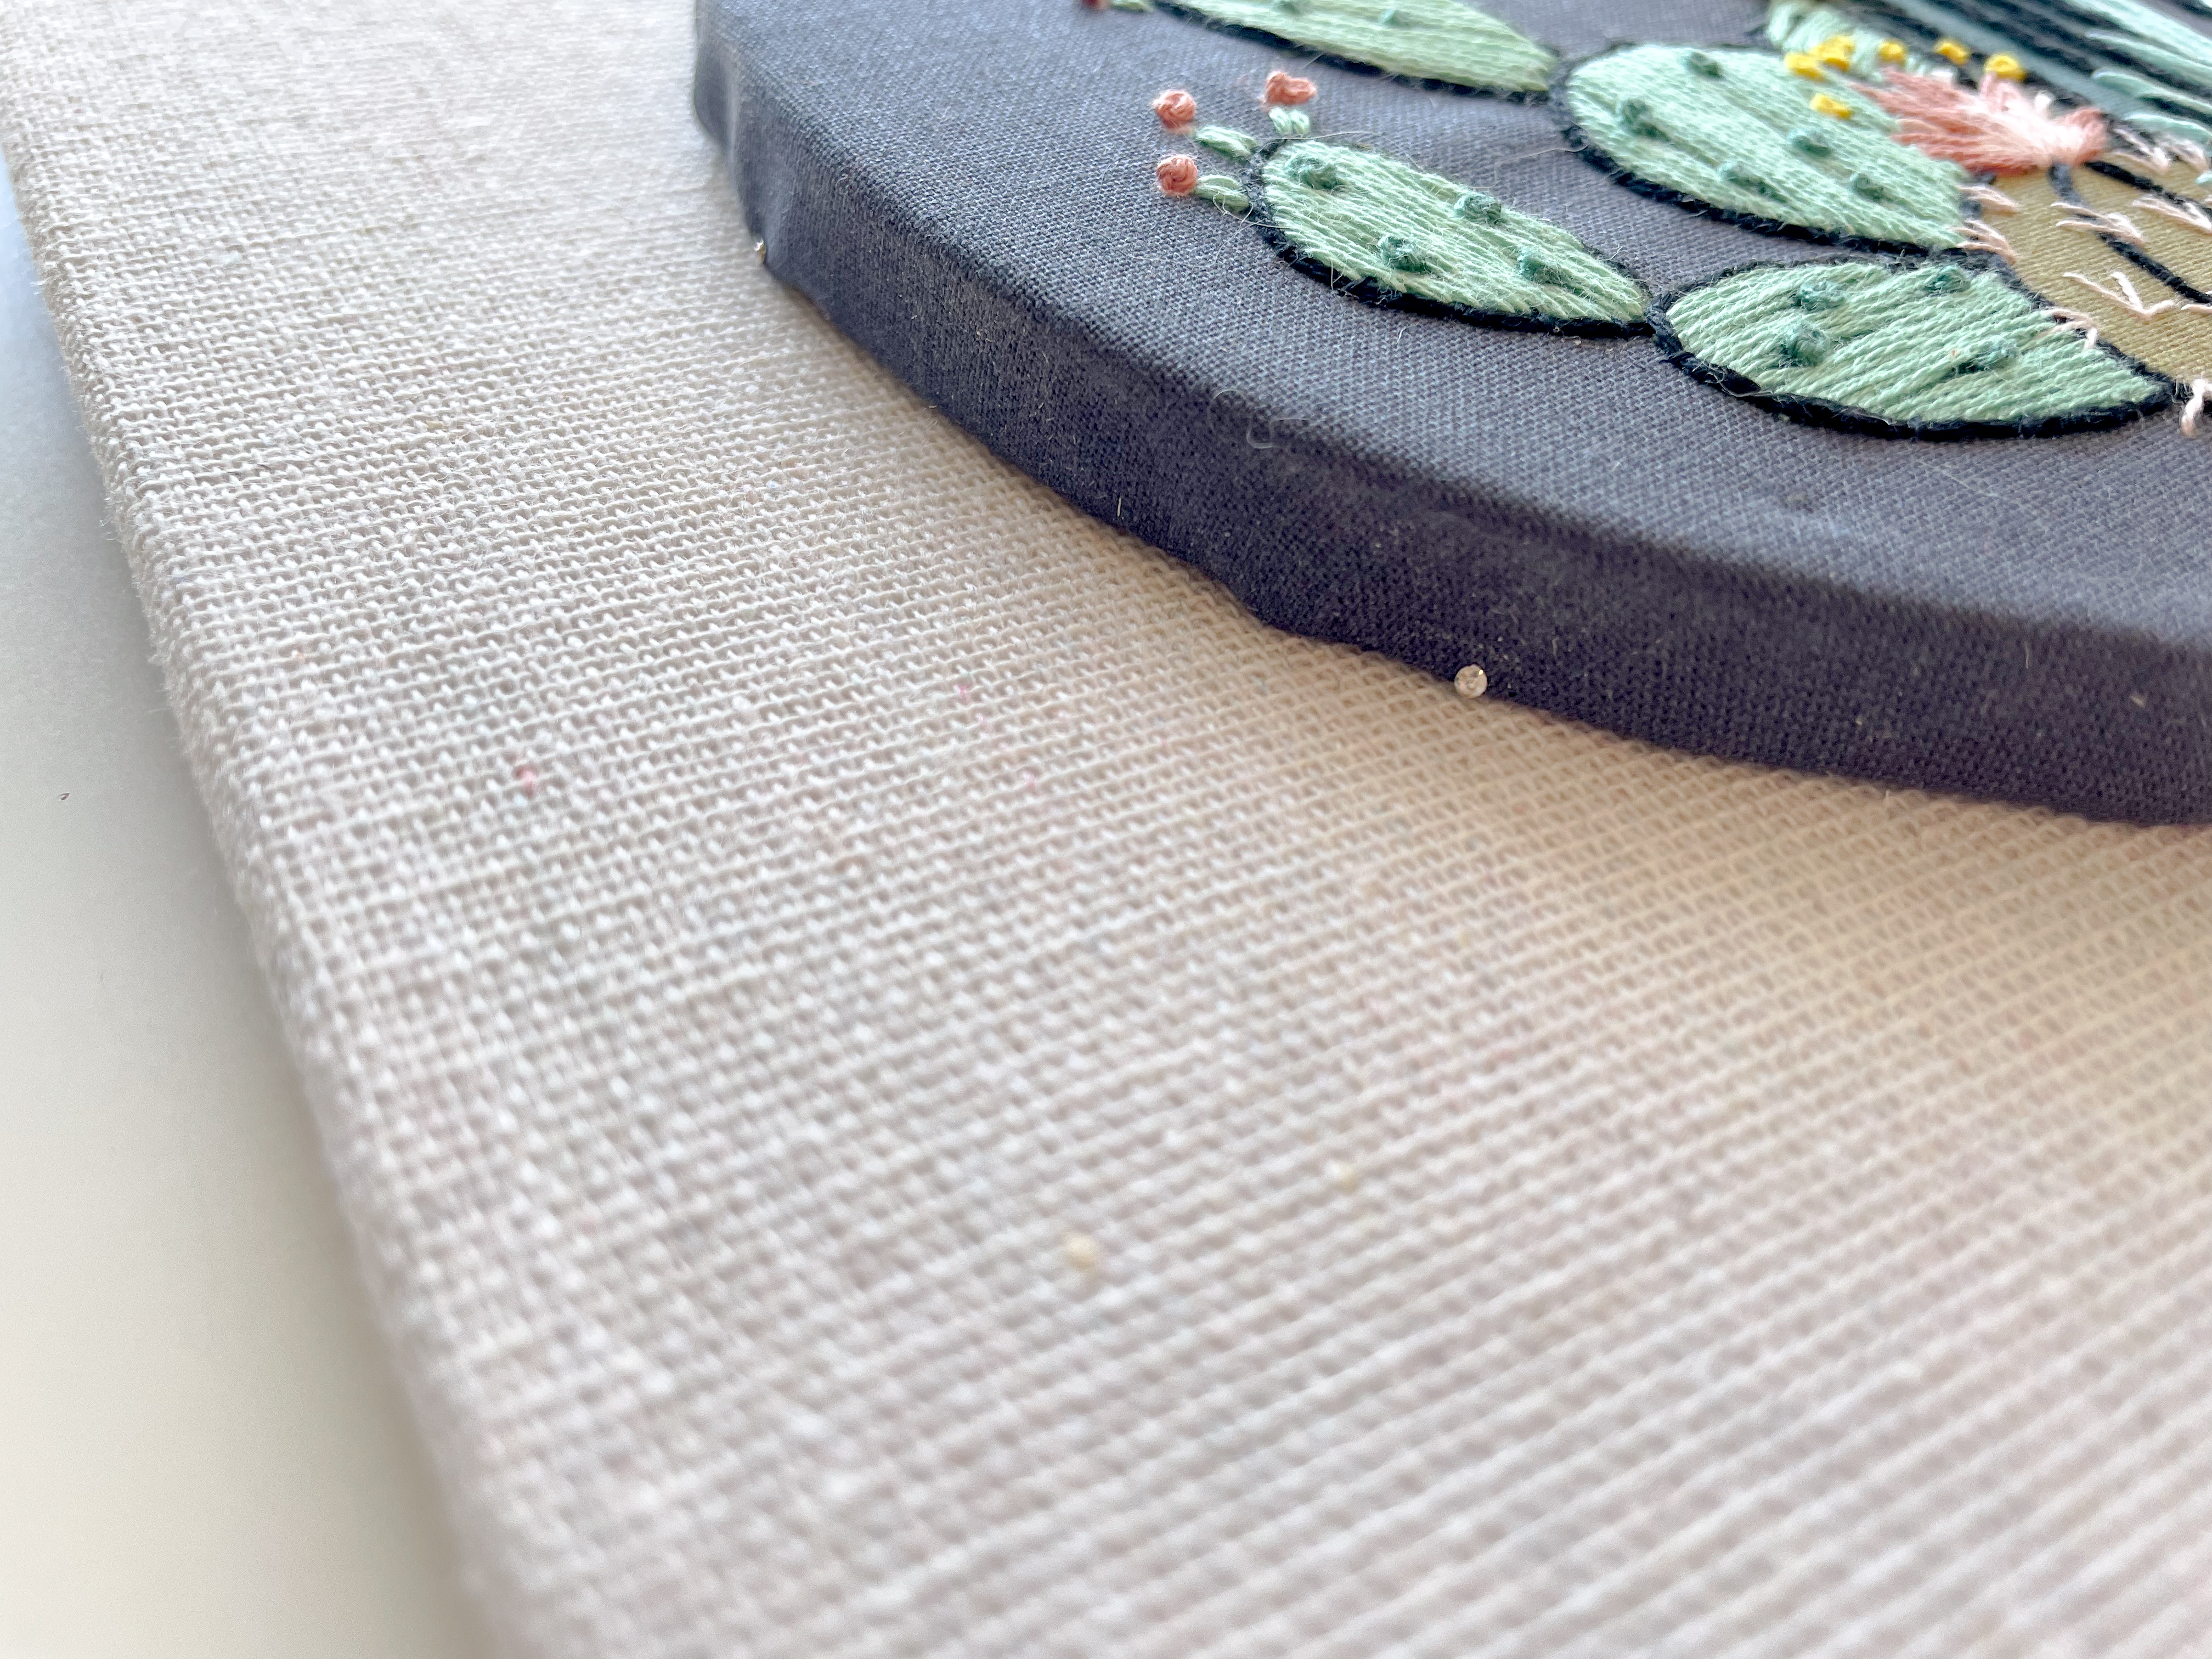
Carefully pin the piece onto your linen backing. Because this is foam core underneath, pinning is very easy. We use an eraser at the end of a pencil to get the pins close to the bottom of the hoop. Start pinning at North, then South, East and West. Follow that up with 4 more pins in between. We haven’t found a need for more than 8 but feel free to secure your piece as you see fit.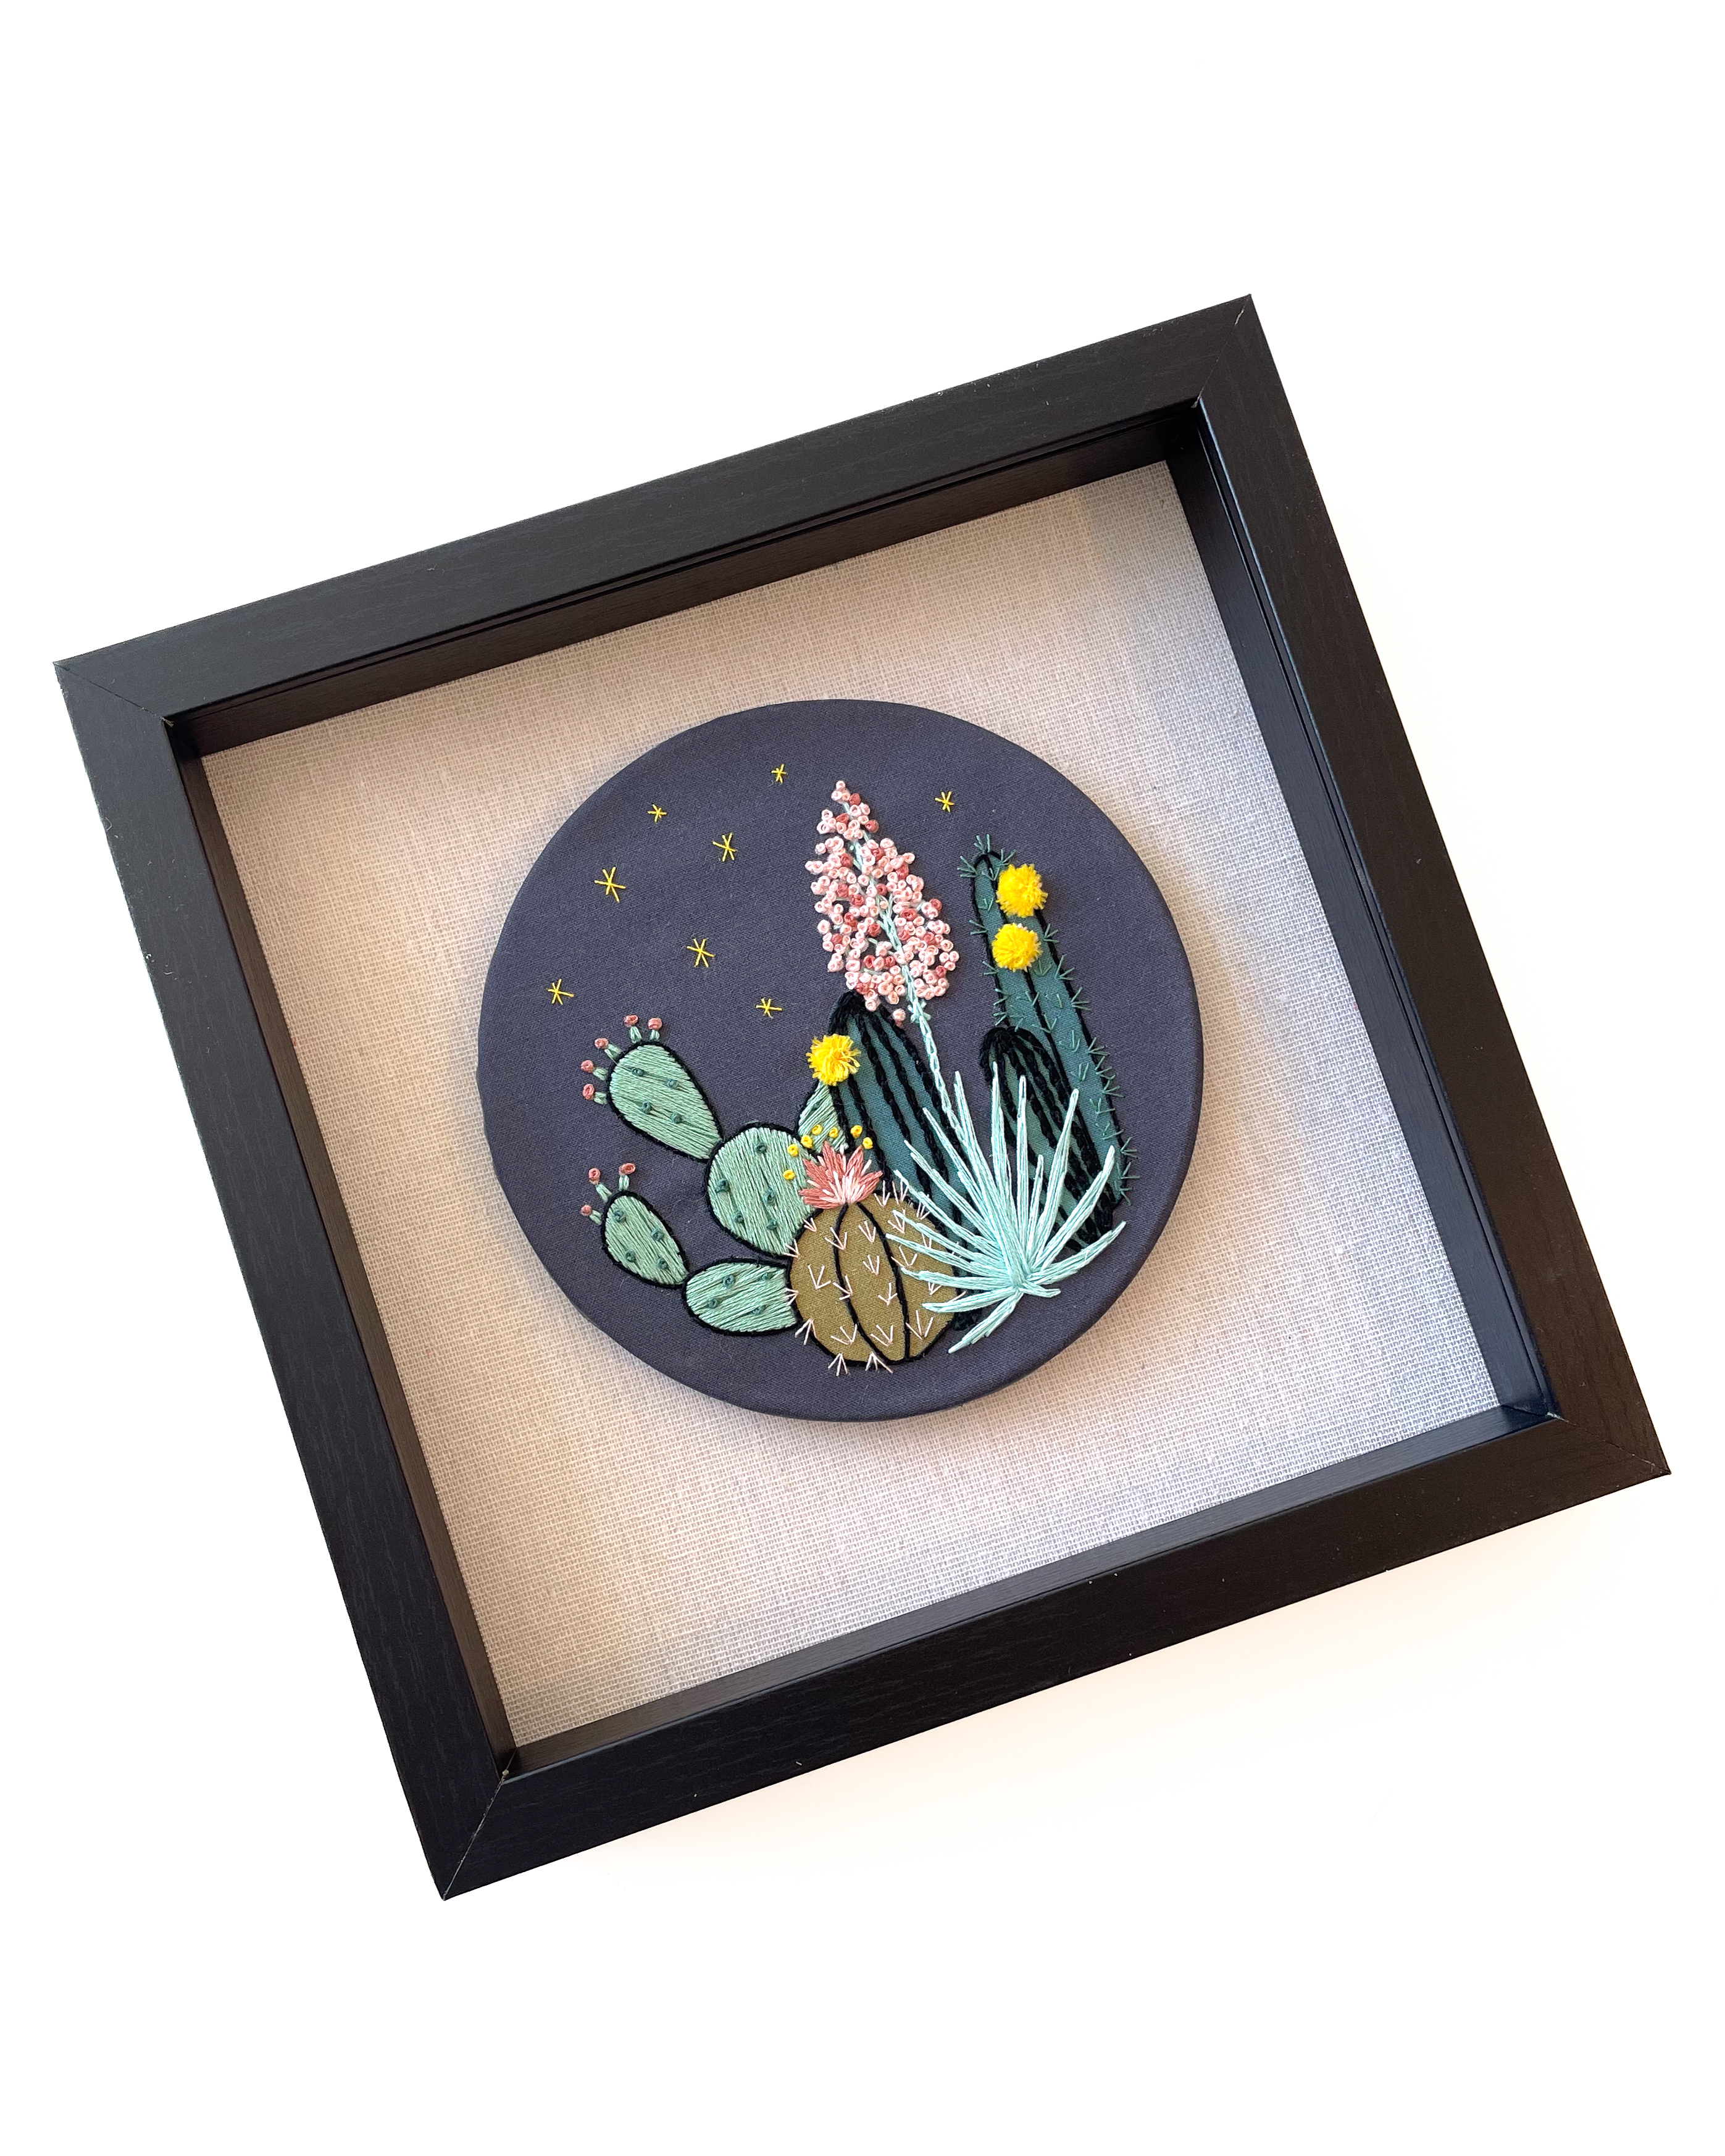
Step Five:
Reassemble your frame, making sure all loose embroidery floss and fluff is cleaned up. You can choose to add the glass or not, depending on your aesthetic and the placement of your piece within your home.
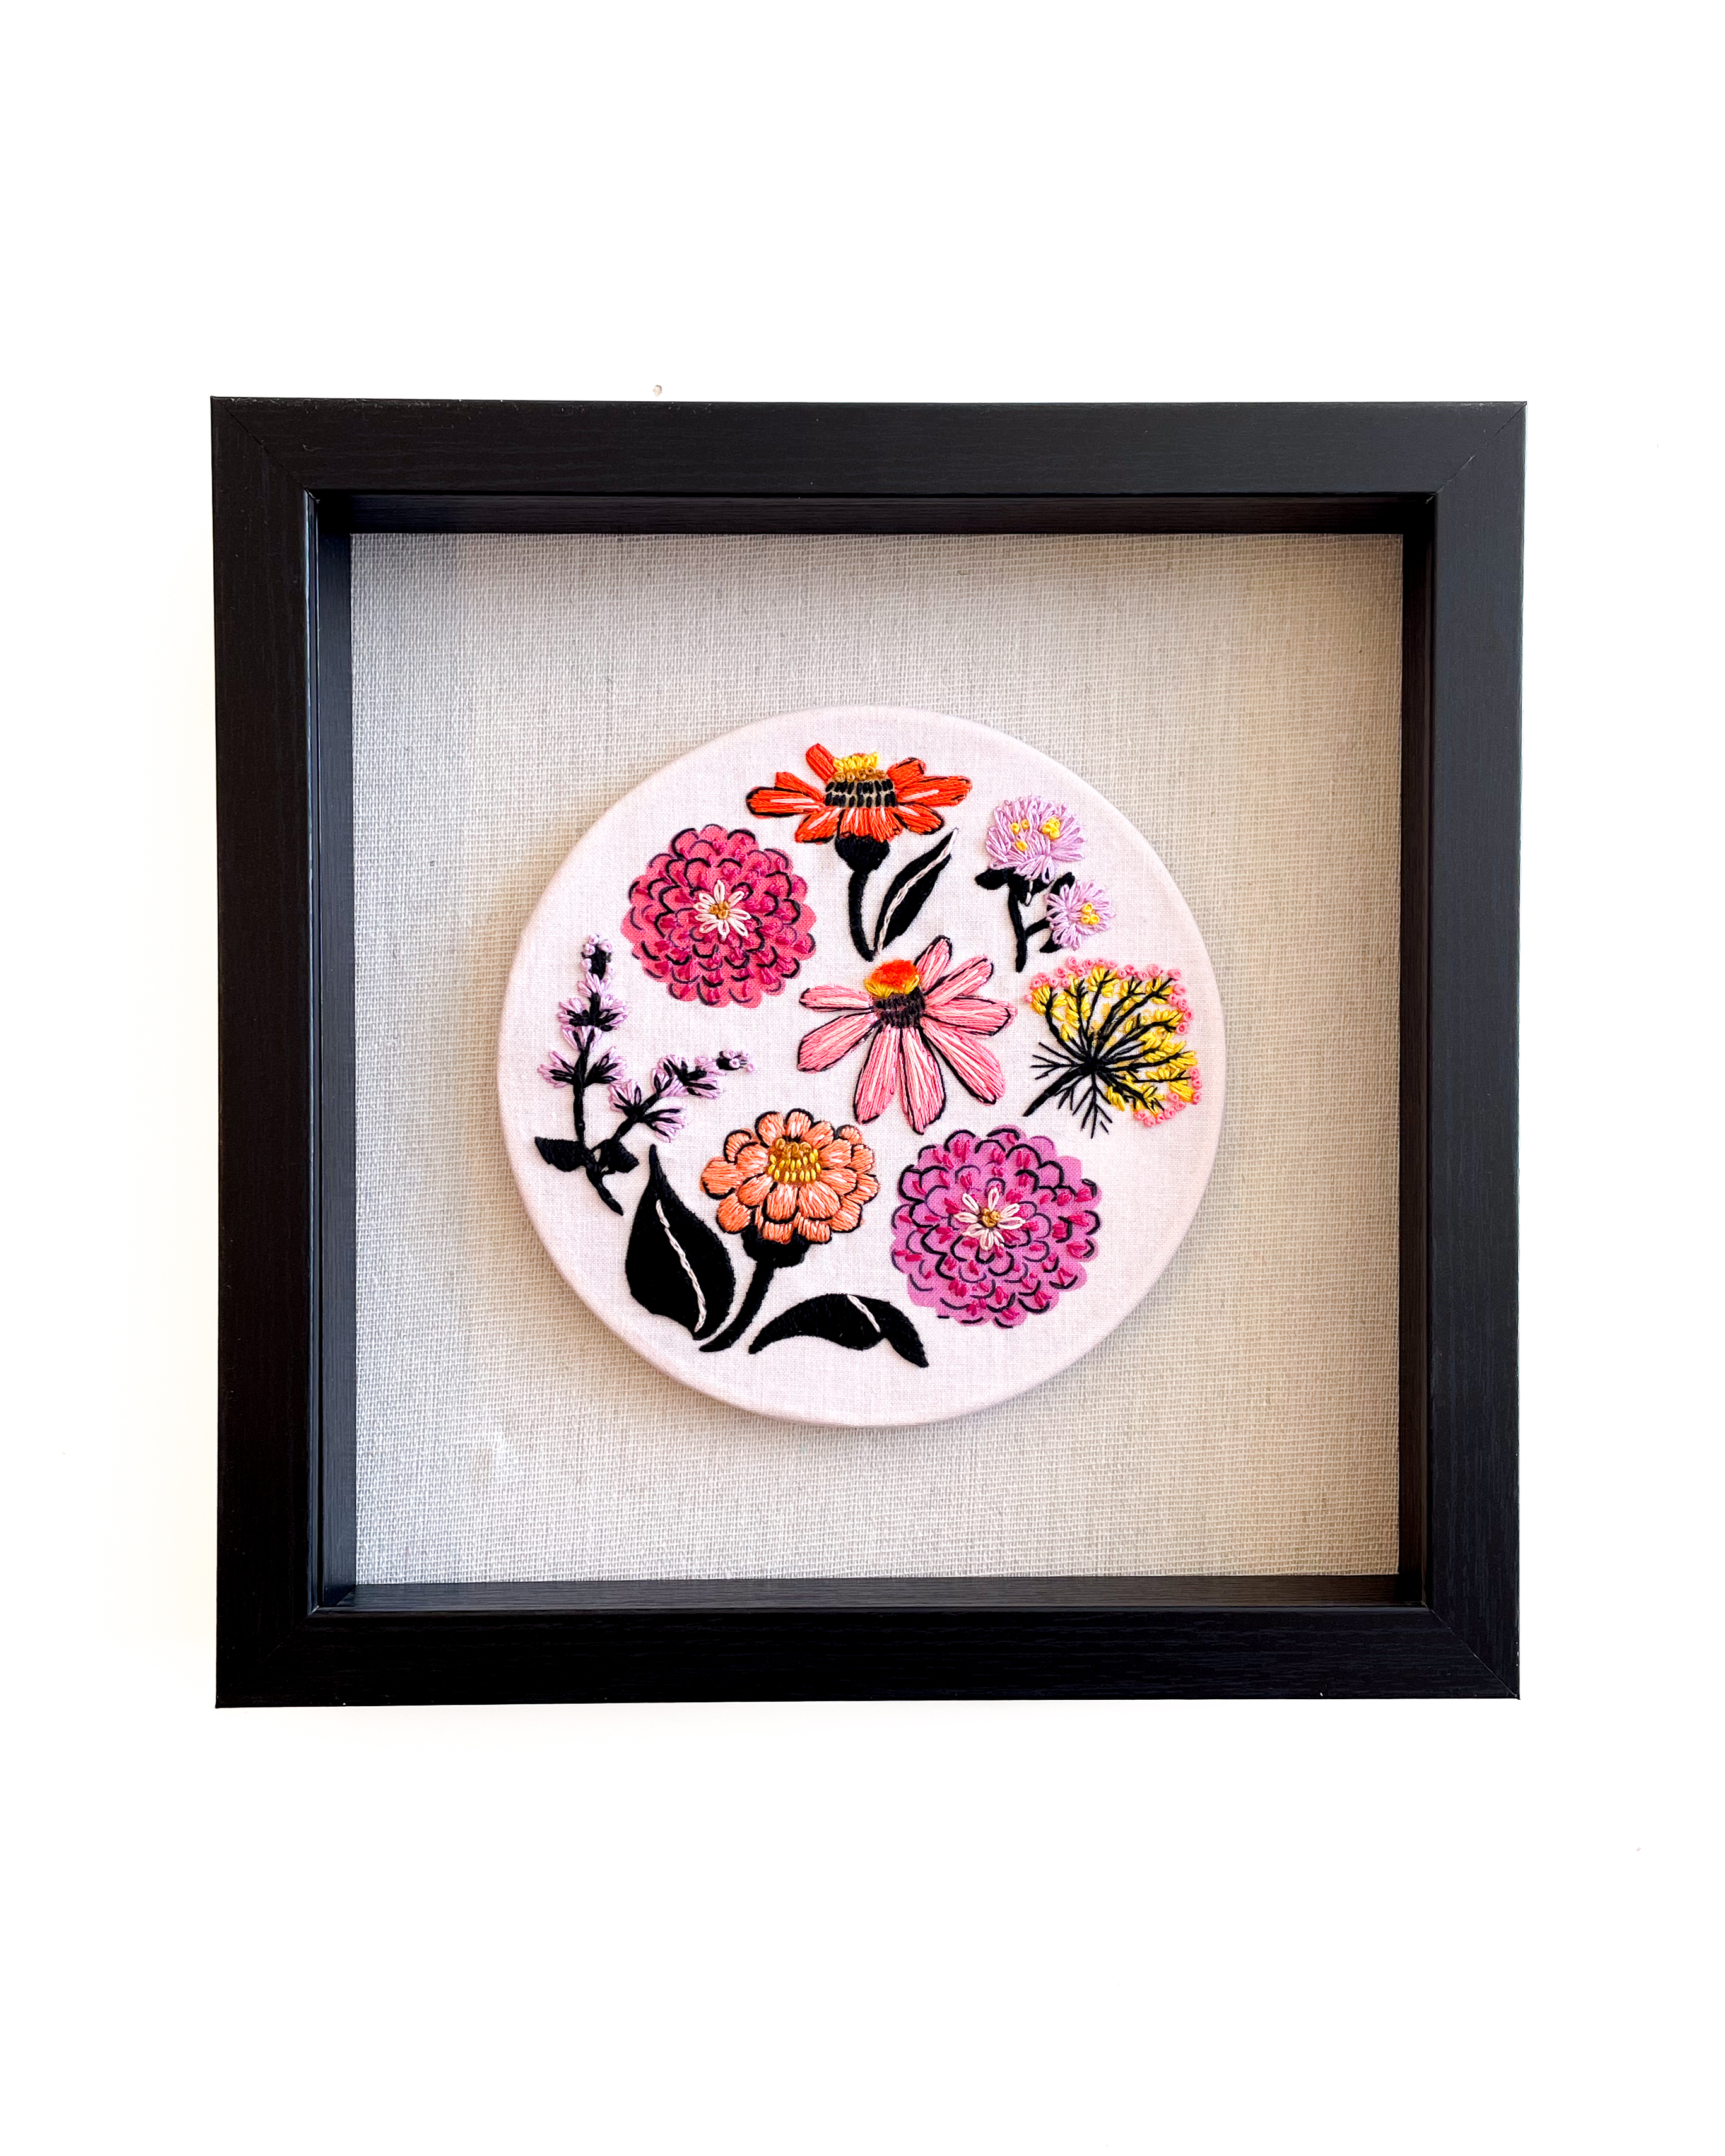 Can you believe how simple it is to elevate your embroidery into a piece of fine art? We SO prefer this finishing to the simple hoop hanging on the wall. Plus, it protects your hard work from sun, dust and dirt, making it an heirloom to be cherished for years to come.